Native GUI app with JavaFX on Windows
This post is part of the 100 Days of JavaFX Series.
This is a follow-up post on my previous “Native GUI app with JavaFX” guide. Examples and instructions in that guide are targeted for Linux.
You could run the guide from the previous article if you are using the Windows Subsystem for Linux (WSL 2). However, because it runs in a Linux VM, it will not produce a native windows binary.
In this post, we will see how to compile a JavaFX app as a Windows binary.
GraalVM and Maven with Chocolatey
If you don’t already use it, you can manage some of your software installations and updates on Windows using Chocolatey.
To install it, visit chocolatey.org/install and follow the instructions.
The following must be executed with admin privileges.
# Install GraalVM
> choco install graalvm

# Let`s check which version of java we are using
# The coco command has updated are PATH to include binaries from the GraalVM installation
# You may need to restart your shell after running `choco install`.
> java -version
openjdk version "11.0.8" 2020-07-14
OpenJDK Runtime Environment GraalVM CE 20.2.0 (build 11.0.8+10-jvmci-20.2-b03)
OpenJDK 64-Bit Server VM GraalVM CE 20.2.0 (build 11.0.8+10-jvmci-20.2-b03, mixed mode, sharing)

# We will also need the Maven build tool.
# Note: you can use Gradle too, this tutorial focuses on Maven.
> choco install maven

# Native image will be used to compile to a native binary.
> gu install native-image
Visual Studio Community
My Windows installation being in French, the following screenshots are in French.
You can find the updated versions of installation requirements on the Gluon Client documentation: docs.gluonhq.com/client/.
In order to build a native binary on Windows, you will need Visual Studio. Visual Studio offers a free Community Version.
At the time I am writing this, the requirements to select during the Visual Studio installation process are the following:
- Choose the English Language Pack only
- C++/CLI support for v142 build tools (14.25 or later)
- MSVC v142 - VS 2019 C++ x64/x86 build tools (v14.25 or later)
- Windows Universal CRT SDK
- Windows 10 SDK (10.0.19041.0 or later)
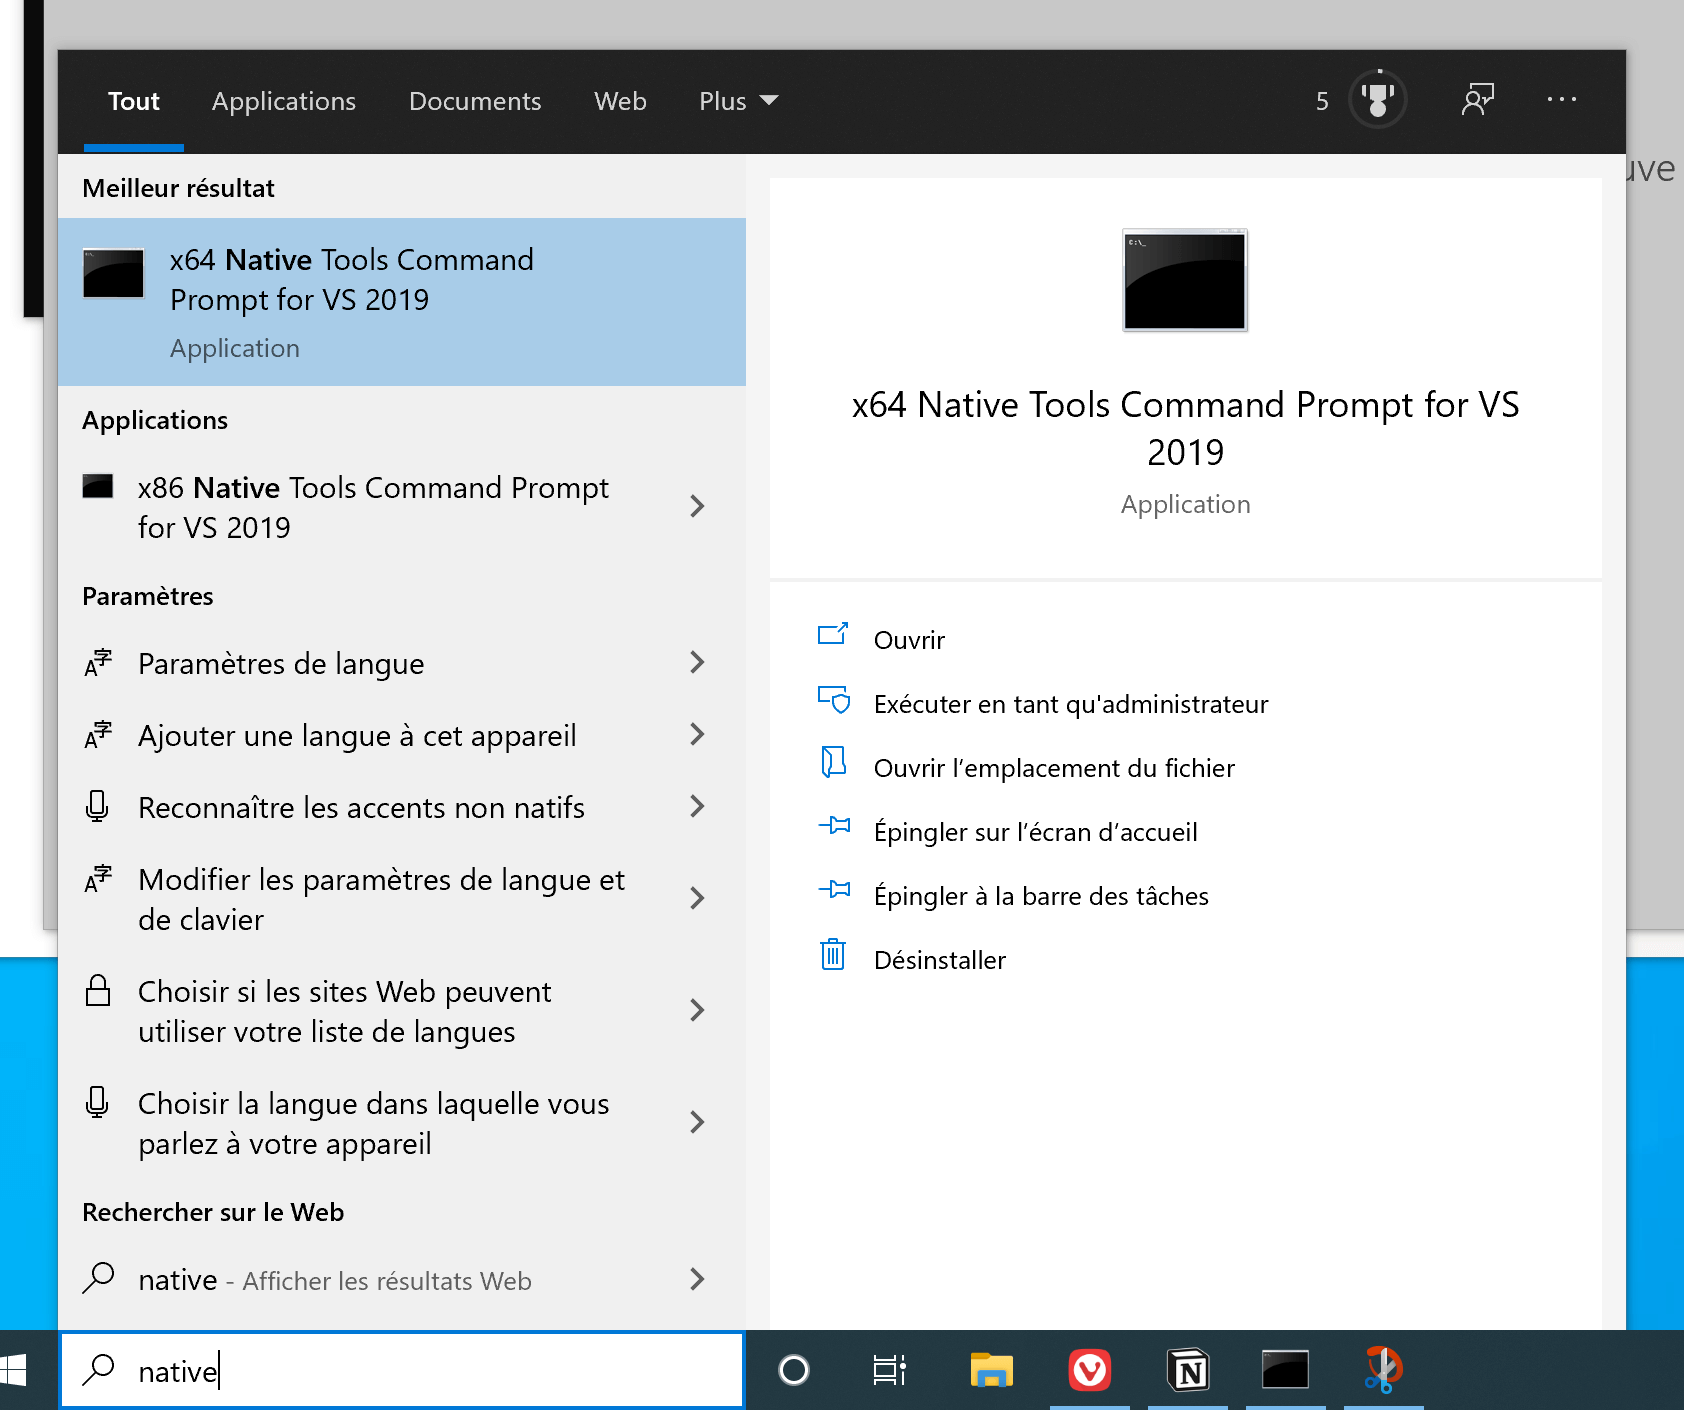
When you will run the commands to build the project, you must do it using the shell provided by Visual Studio: x64 Native Tools Command Prompt for VS 2019.

Minimal JavaFX project
Steps to create the minimal project are available in my previous post. I’ll highlight here the differences between Windows and Linux.
As far as creating the project, the only difference is the way you create a directory hierarchy on Windows (you don’t need the -p option):
# Create a basic directory structure
> mkdir hellofx\src\main\java\eu\leward\hellofx
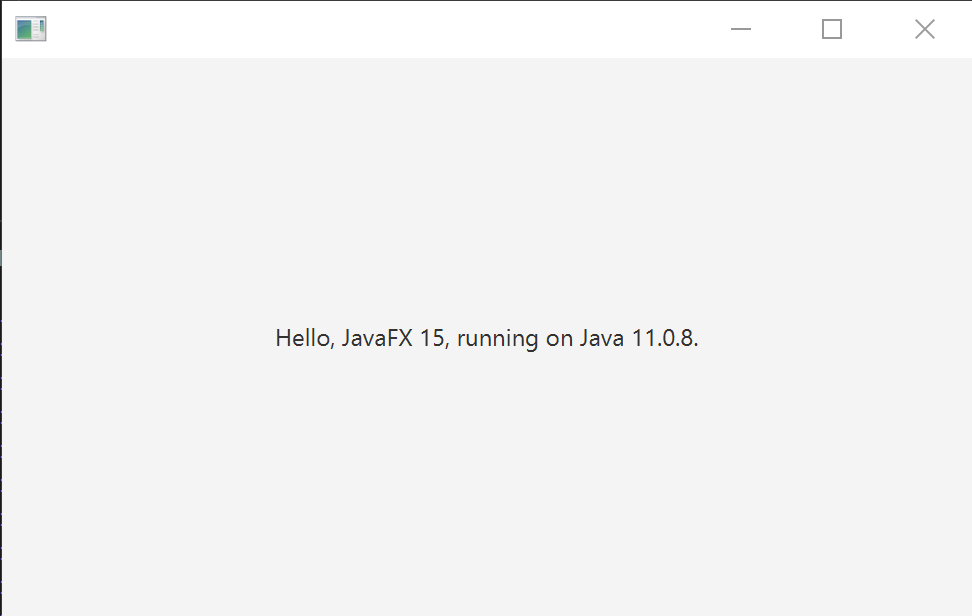
Because we already have java and mvn in our path, we can run: mvn javafx:run to launch the program as a regular Java application.

Compiling as a native app
Once you have all the pre-requisites installed, the process building the application doesn’t not differ much between Windows and Linux.
# You need to have a GRAALVM_HOME environment variable for the plugin to work.
set GRAALVM_HOME=C:/Program Files/GraalVM/graalvm-ce-java11-20.2.0

# Build the application as a native binary
mvn cient:build
If you get the following error:
[ERROR] Failed to execute goal com.gluonhq:client-maven-plugin:0.1.31:compile (default-cli) on project hellofx: Error: Cannot run program "cl"
You need to check that
- Visual Studio Community has been properly installed
- and you are running the command prompt “x64 Native Tools Command Prompt for VS 2019”

The compilation will make good use of your CPU cores. This Windows laptop is a bit more powerful than my Linux machine. Build time was 2 minutes and 30 seconds instead of 4 minutes with my slower machine.
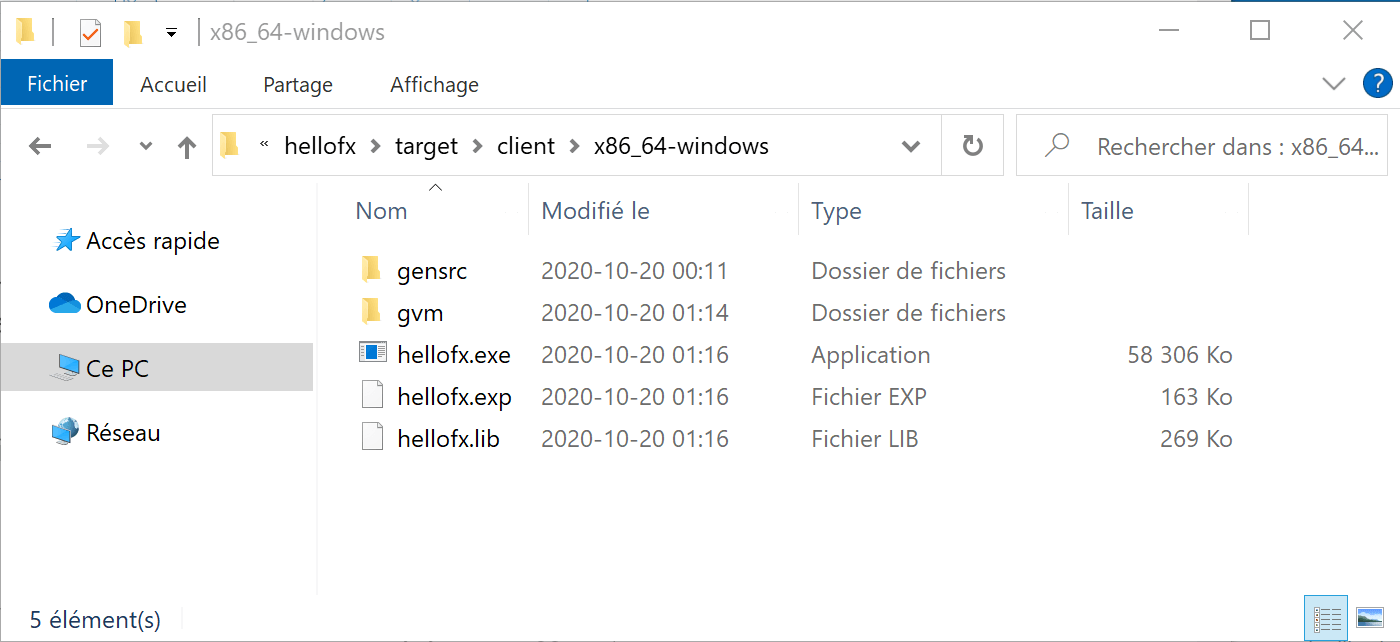
You will now have an hello.exe file in target\client\x86_64-windows that you can click on to run your program.


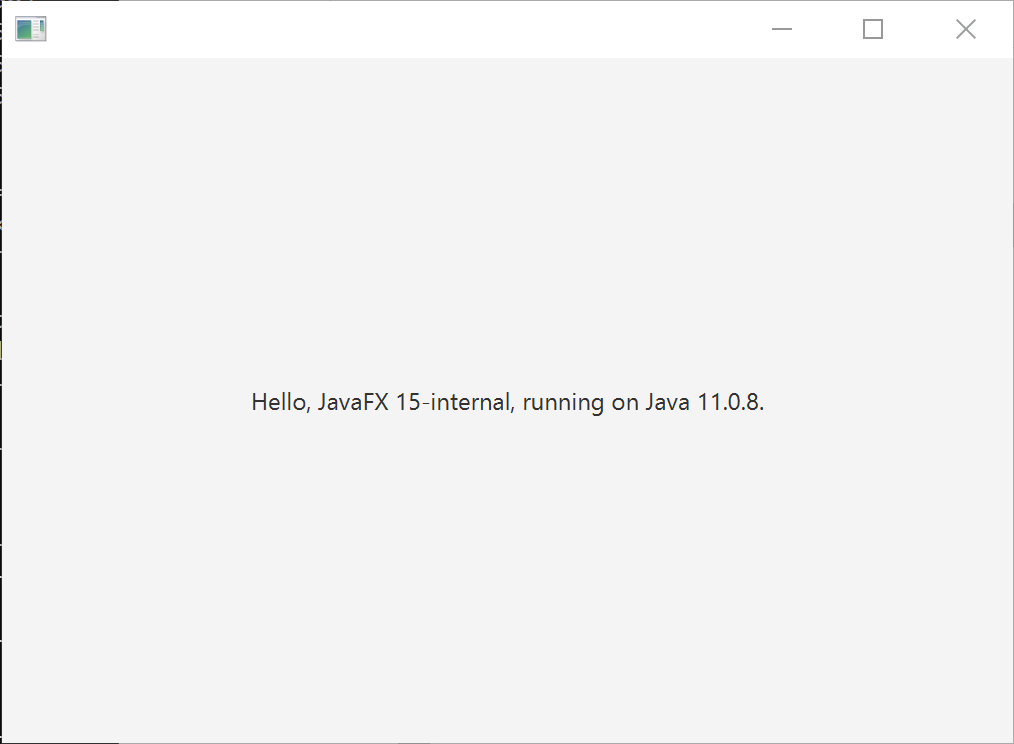
And voilà, you have built and run a JavaFX application as a native binary on Windows.