Winter 2023 Gravel Bike Build (Light Bicycle Journey)
In 2023 I was starting to eye (like many) into gravel riding. My road bike with rim brakes was starting to show limitations due to the limited tire clearance. I wanted to build a new do-it-all leisure bike (not a grocery-getter). This post showcases that build and part selection.

| Part | Model |
Price Taxes and shipping excluded |
|---|---|---|
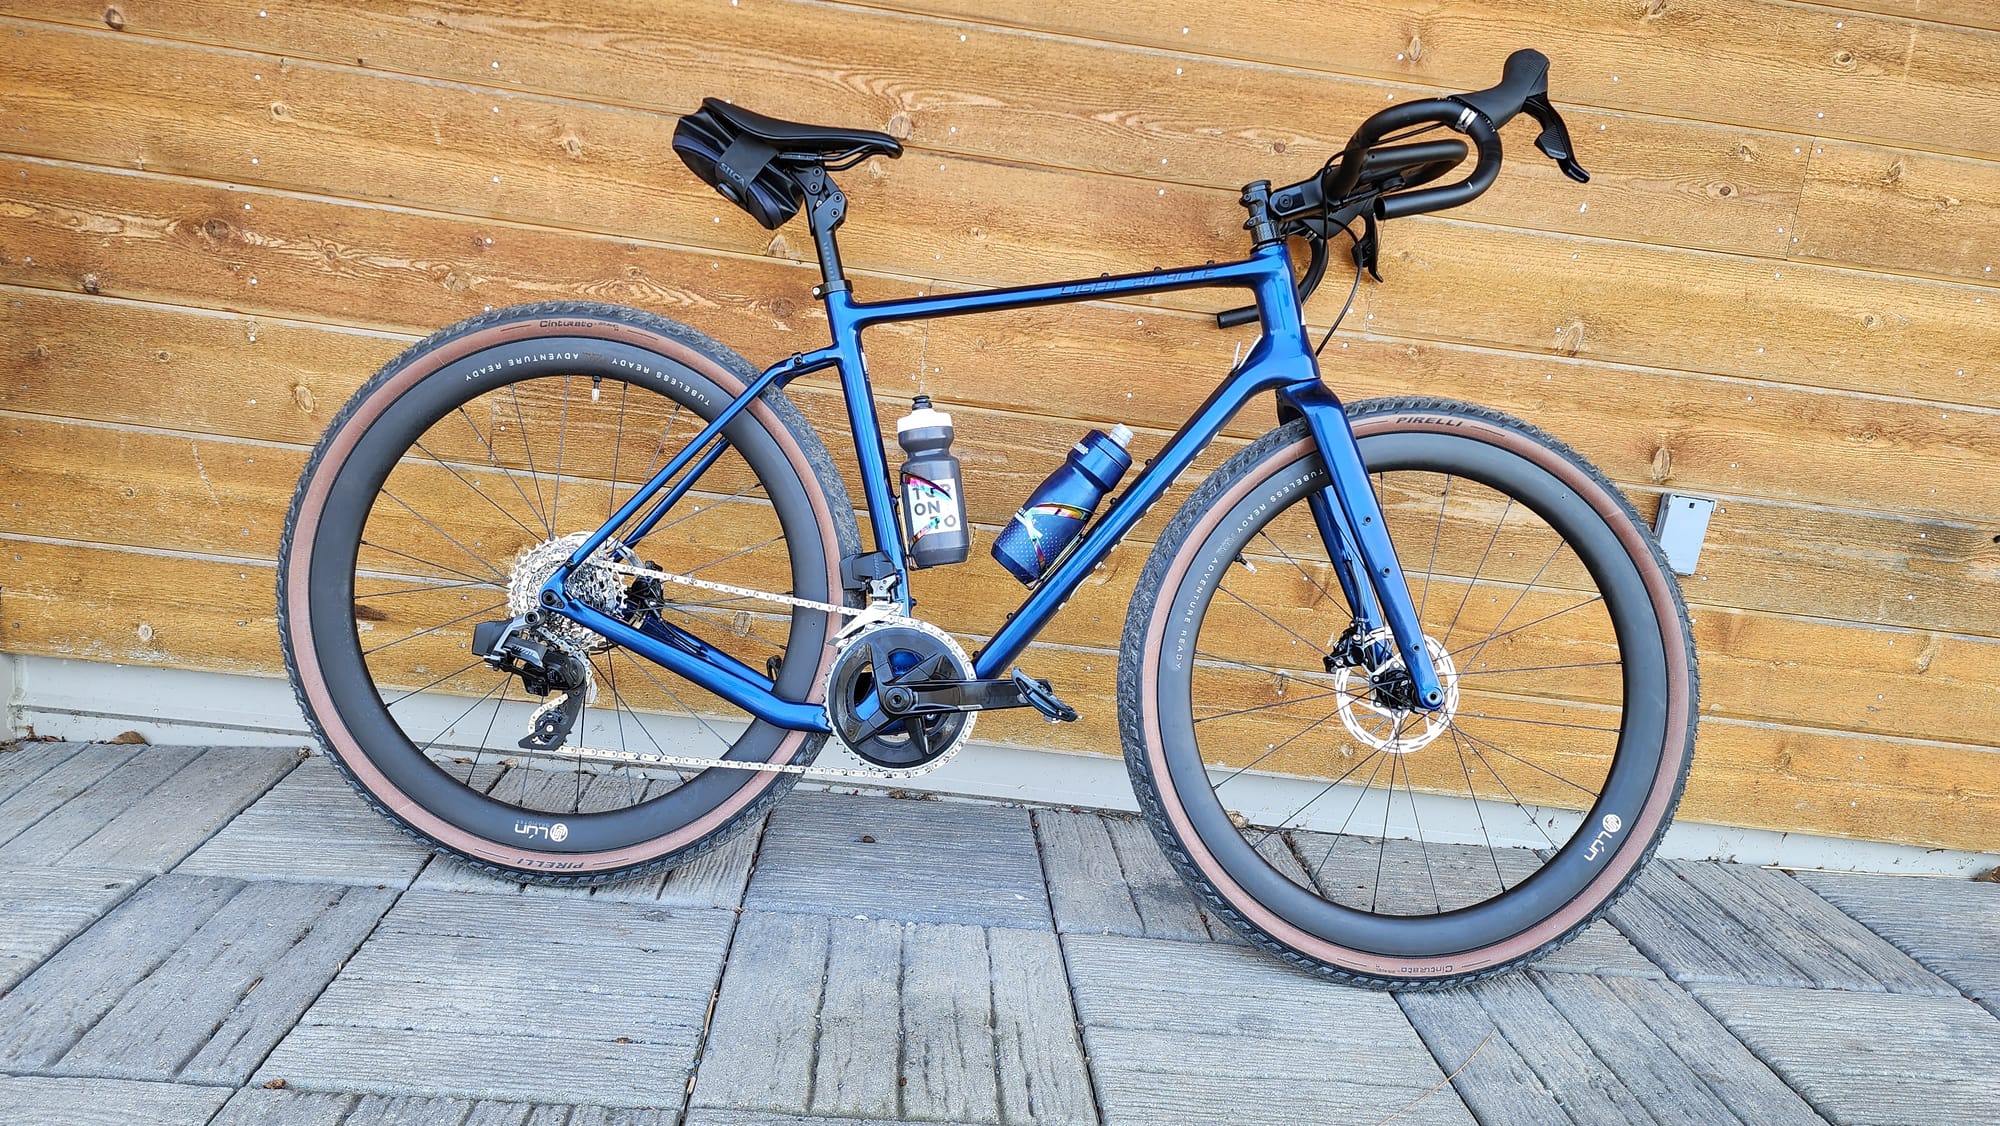
| Frameset | Light Bicycle Journey Gravel | C$1,477 |
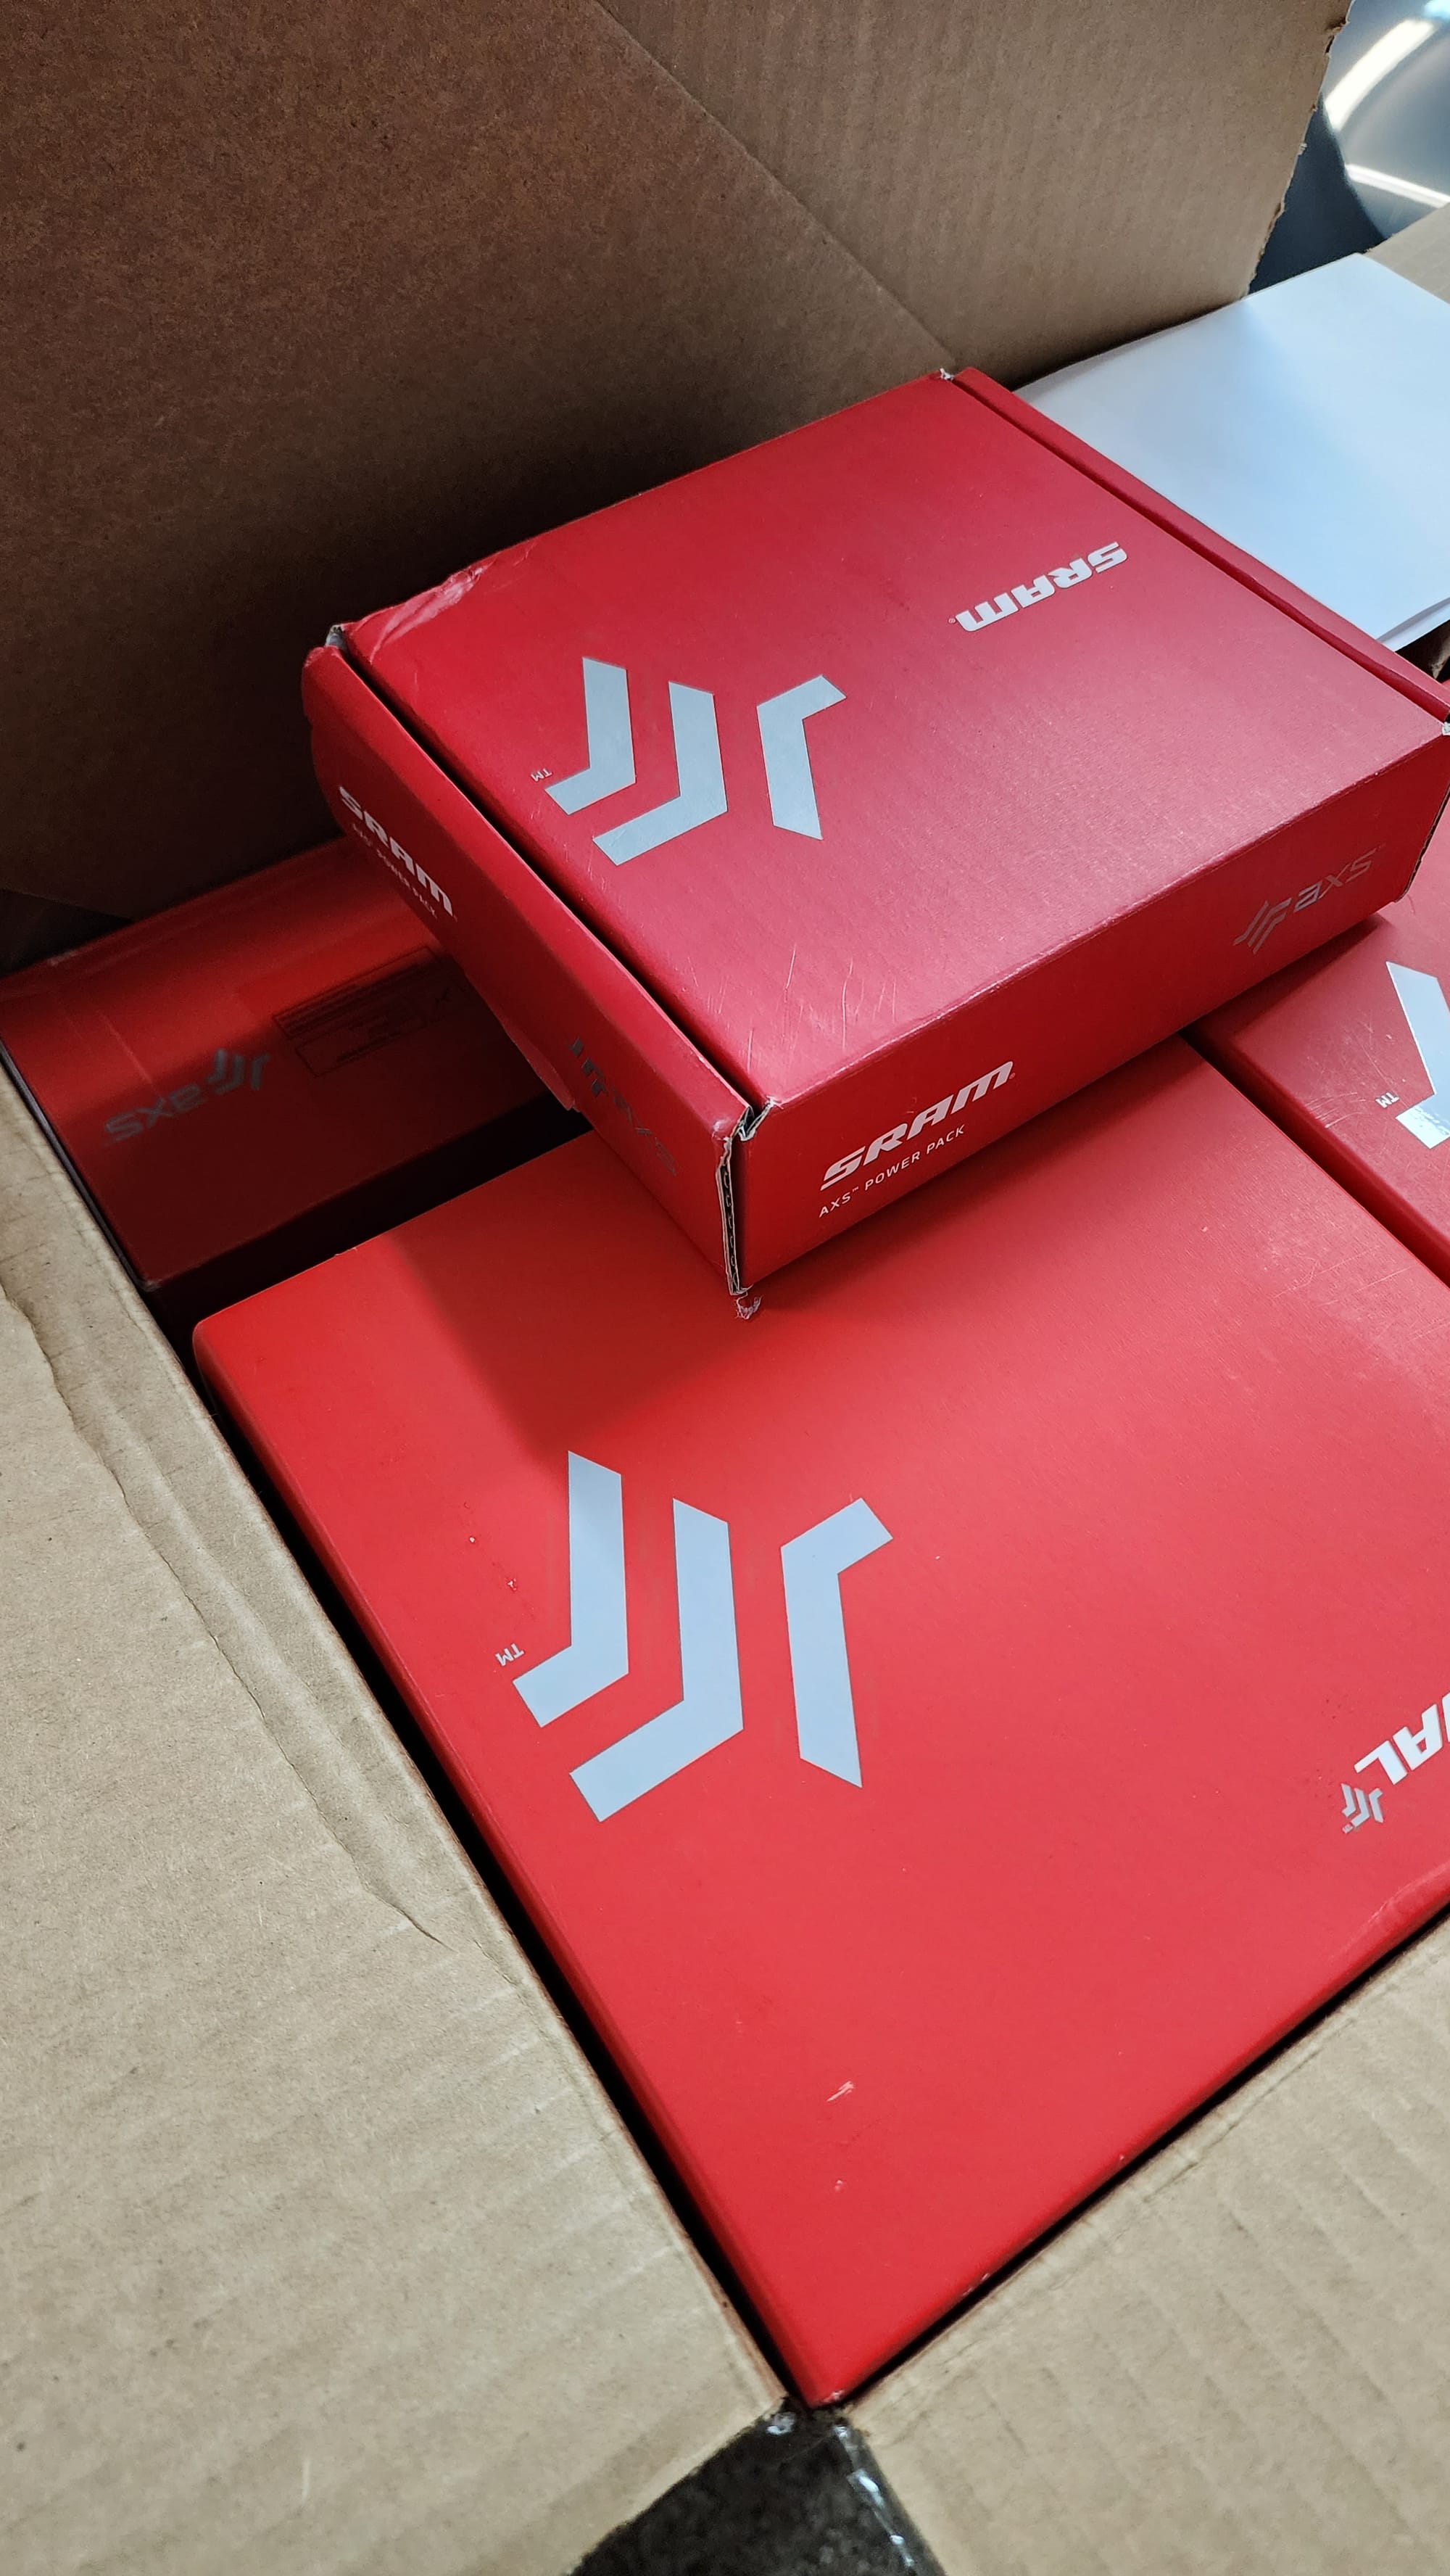
| Groupset |
Sram Rival eTAP 2x with power meter
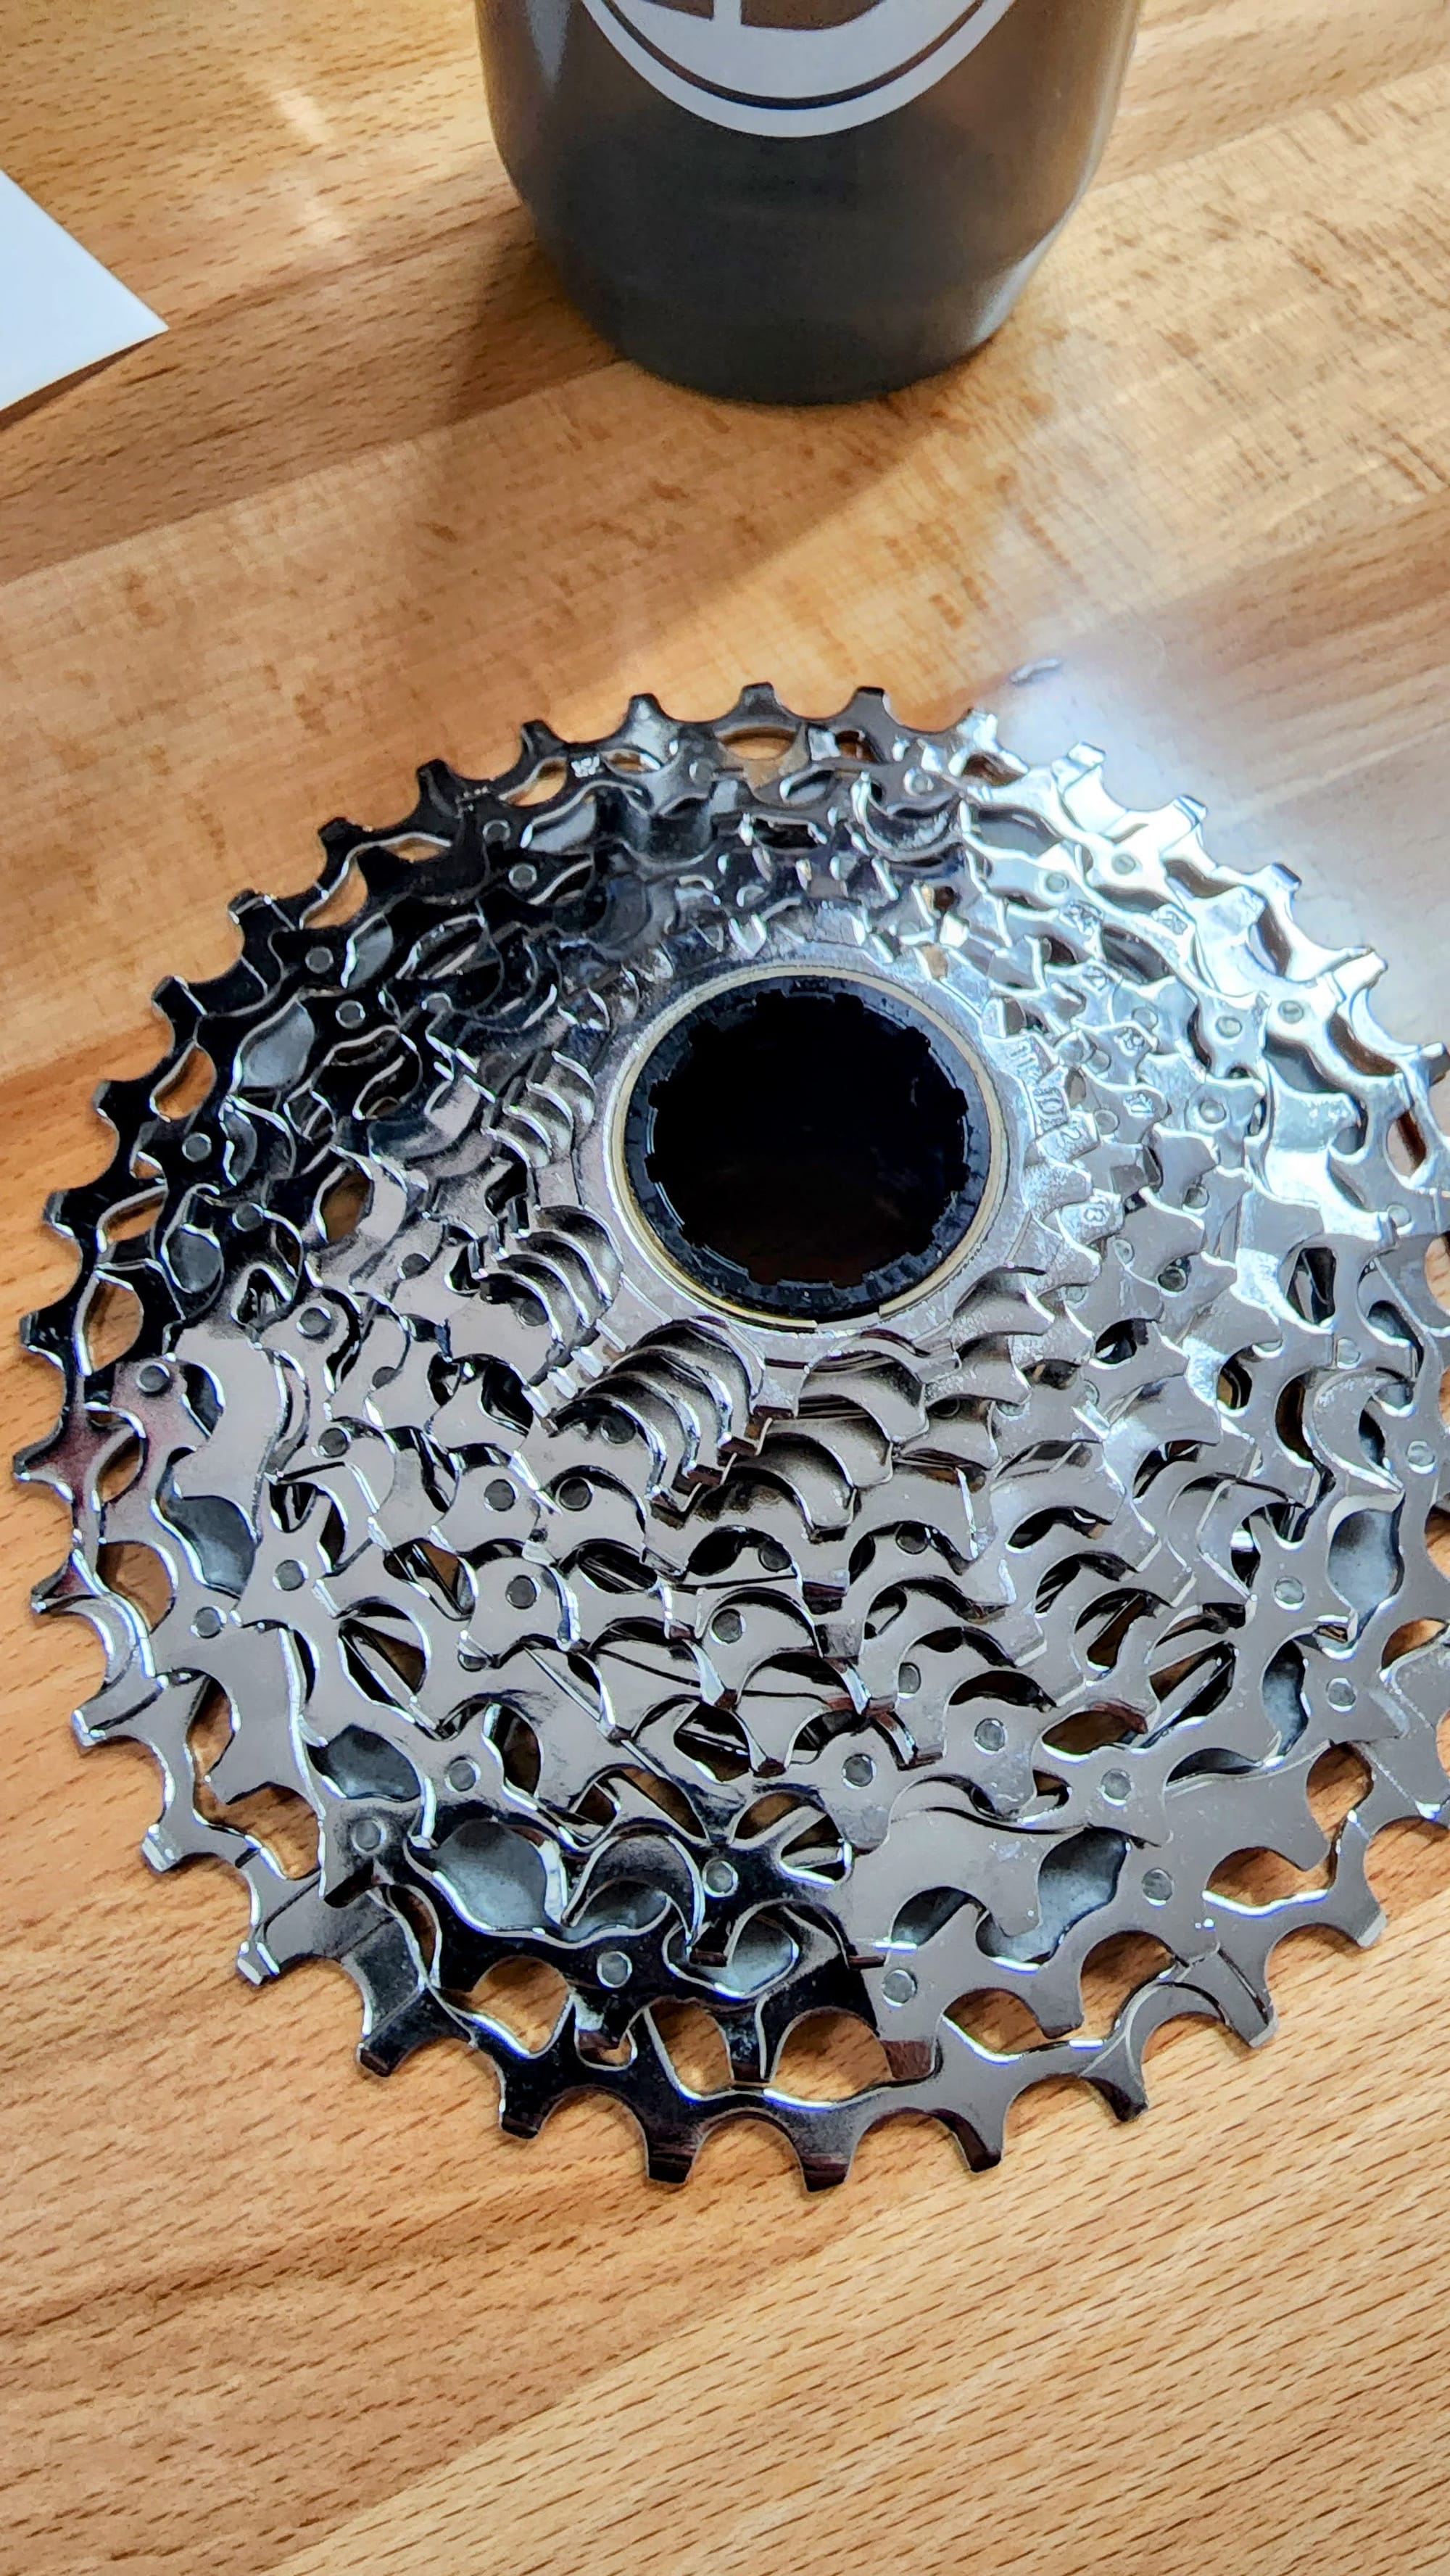
Chainrig: 46-33T Cassette: 10-36T |
C$2,450 |
| 2nd Cassette | SRAM XG-1250 Rival 12-Speed Cassette 10-36T | C$170 |
| Bottom Bracket | Sram DUB BSA Bottom Bracket | 68-73mm | C$55 |
| Pedals | Shimano PD-EH500 SPD Pedals | C$110 |
| Rotors | SRAM Paceline Centerlock Rotor - 160 mm | C75$ x 4 |
| Center Lock | Wolf Tooth Centerlock Lockring | C$23 x 2 |
| Bottle Cage | Supacaz Fly Cage Ano – Oil Slick | C$45 x 2 |
| Handlebar |
Kitchen Sink Gravel Handlebar System - Loop / 47cm
Extra long bar tape + Drop & Top Grips + Computer Mount |
C$300 |
| Stem | Redshift Shockstop Pro Suspension Stem | C$268 |
| Seatpost | Redshift Shockstop Pro Suspension Seatpost | C$320 |
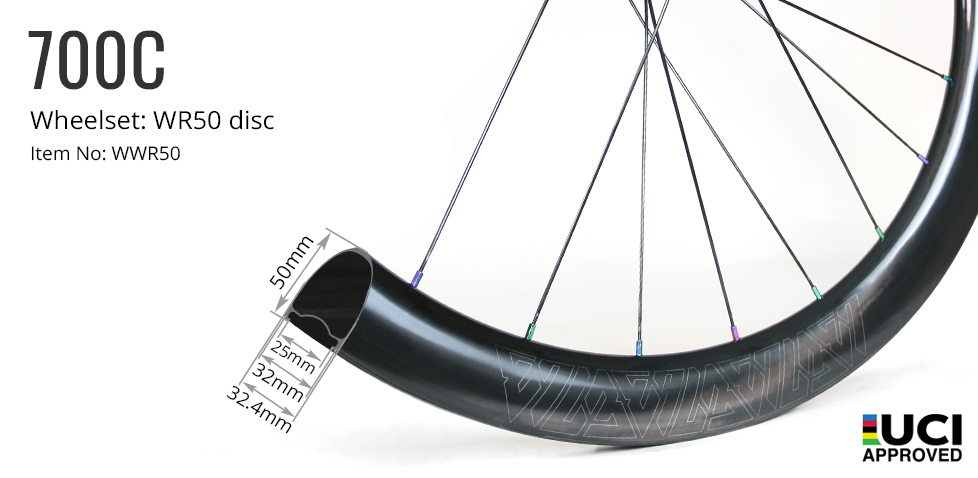
| Road Wheels | Light Bicycle 700c WR50 Disc | C$1,343 |
| Road Tires | Continental Grand Prix 5000 S 700 x 32c | C$104 x 2 |
| Gravel Wheels | Winspace Lún Grapid 700c Forty-Five | US$898 |
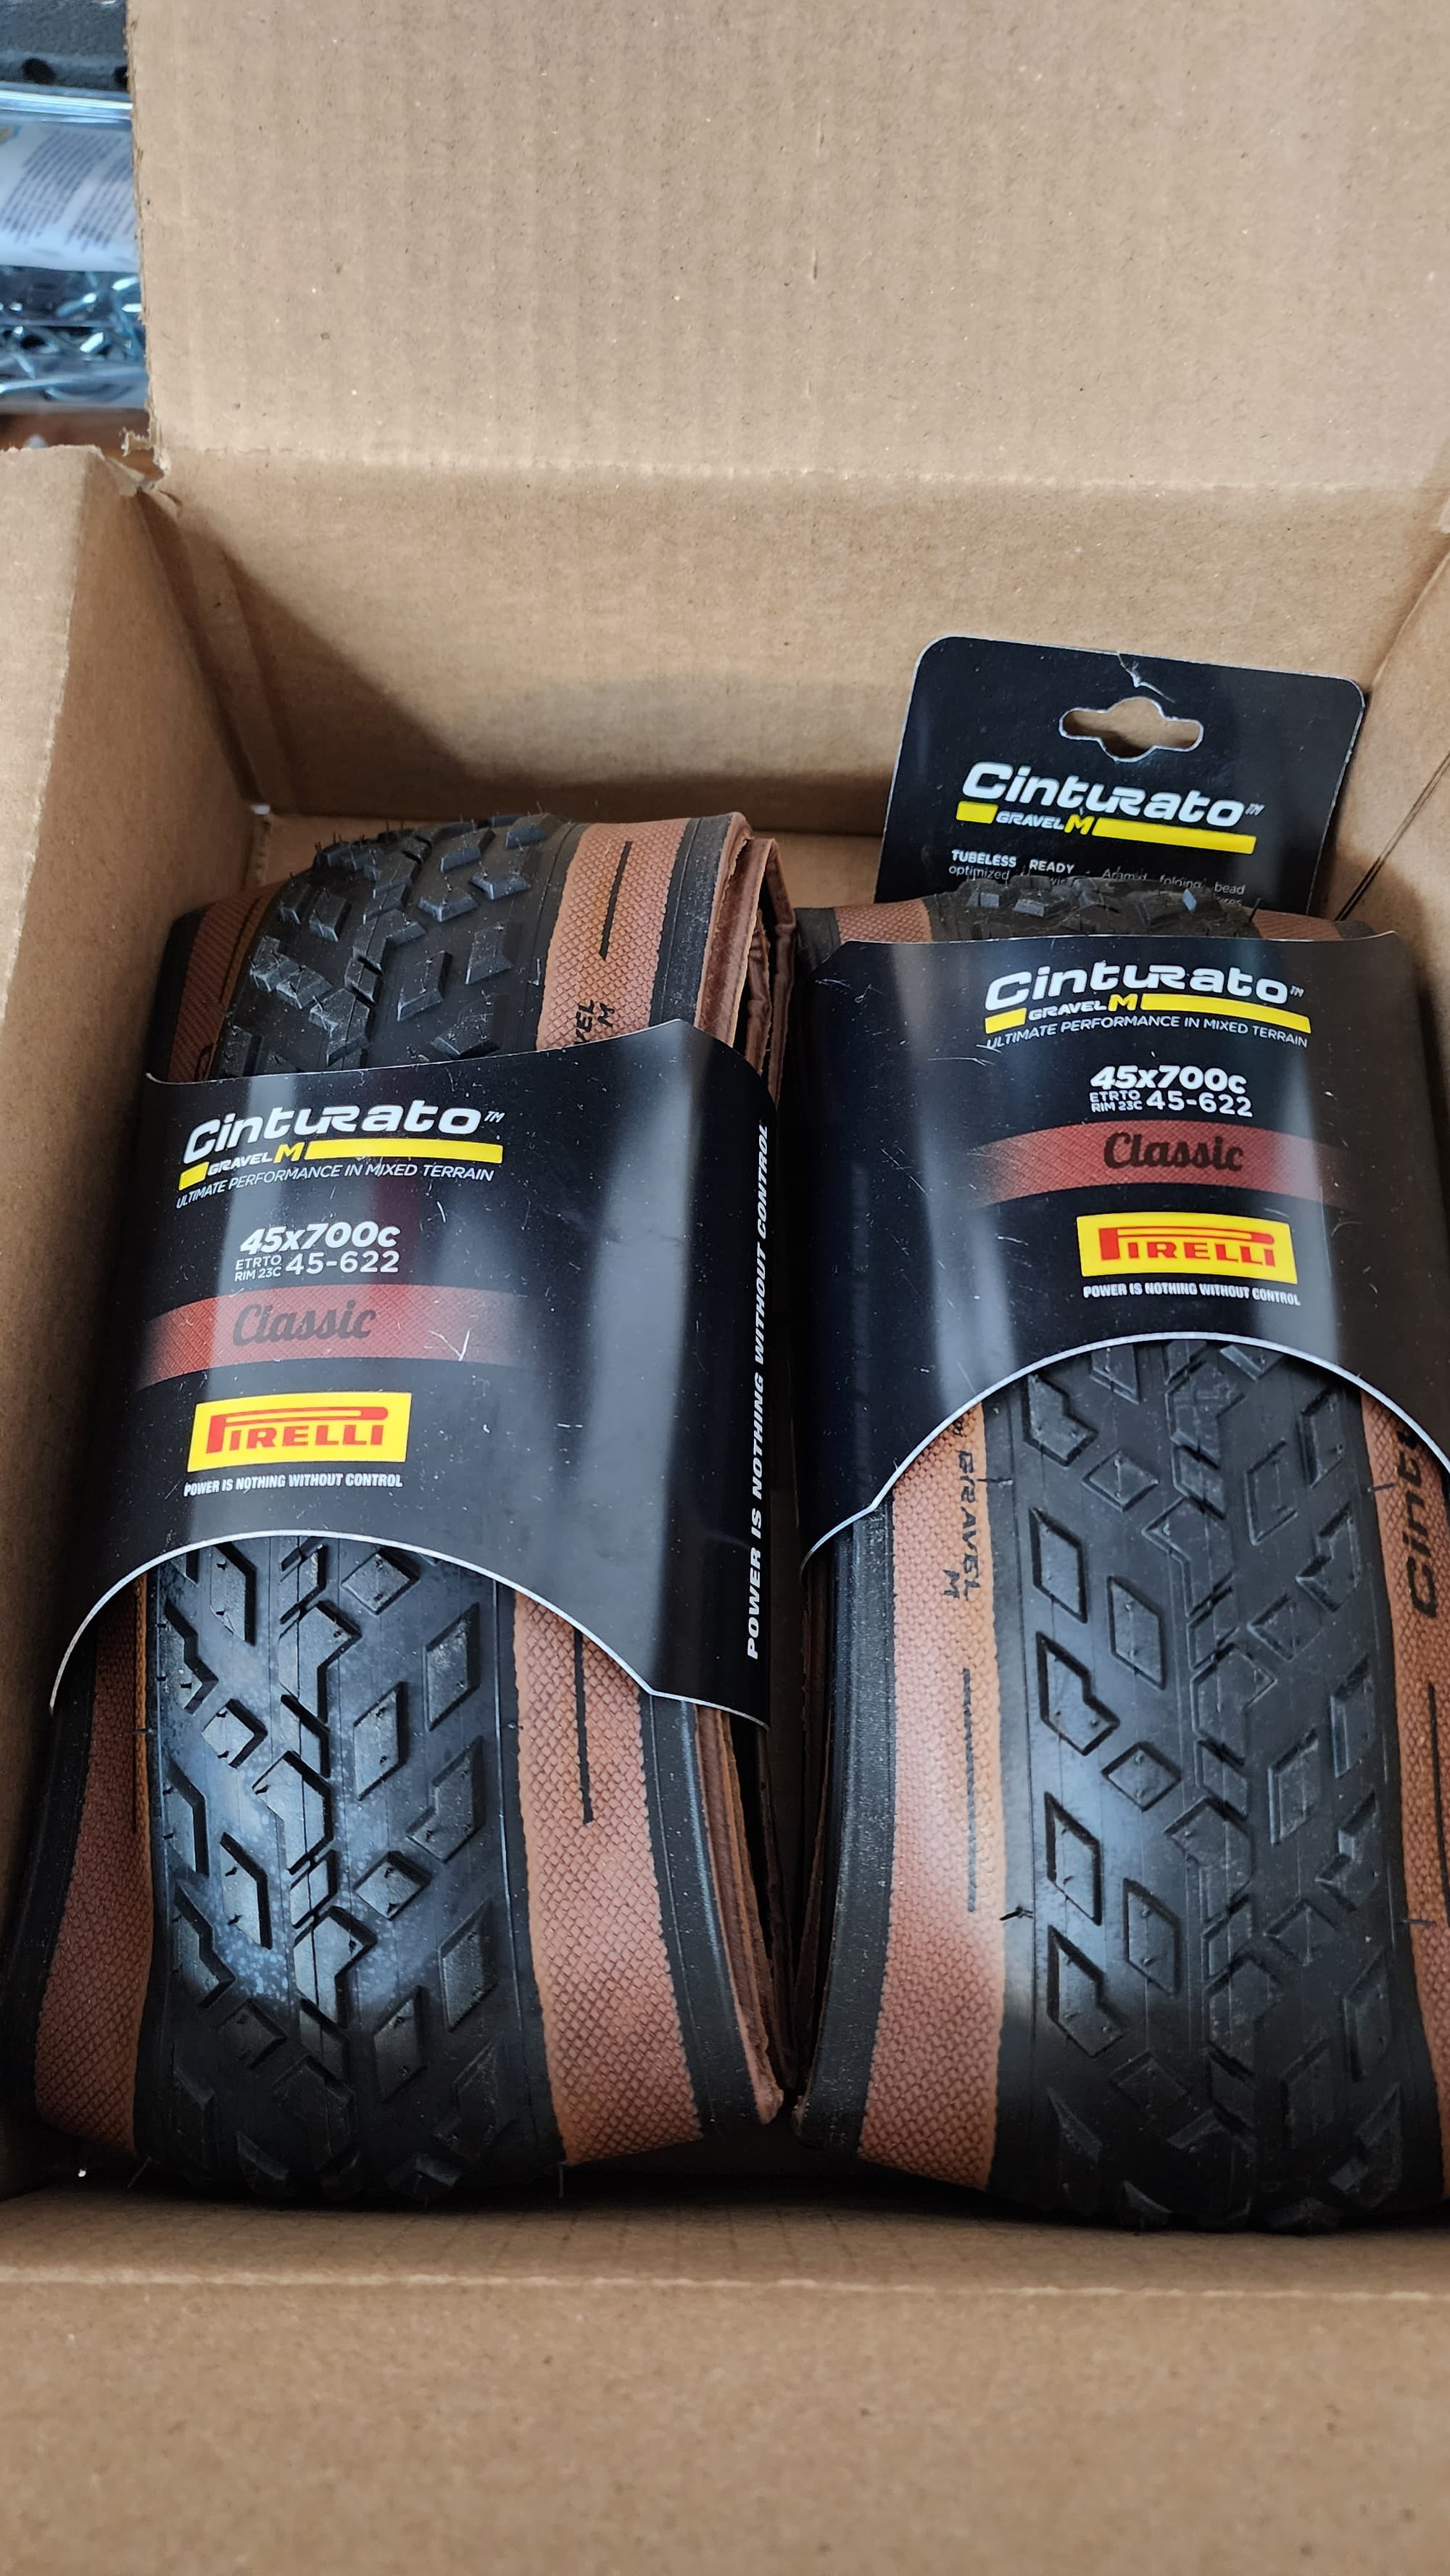
| Gravel Tires | Pirelli Cinturato Gravel M 700x45c | C$118 x 2 |
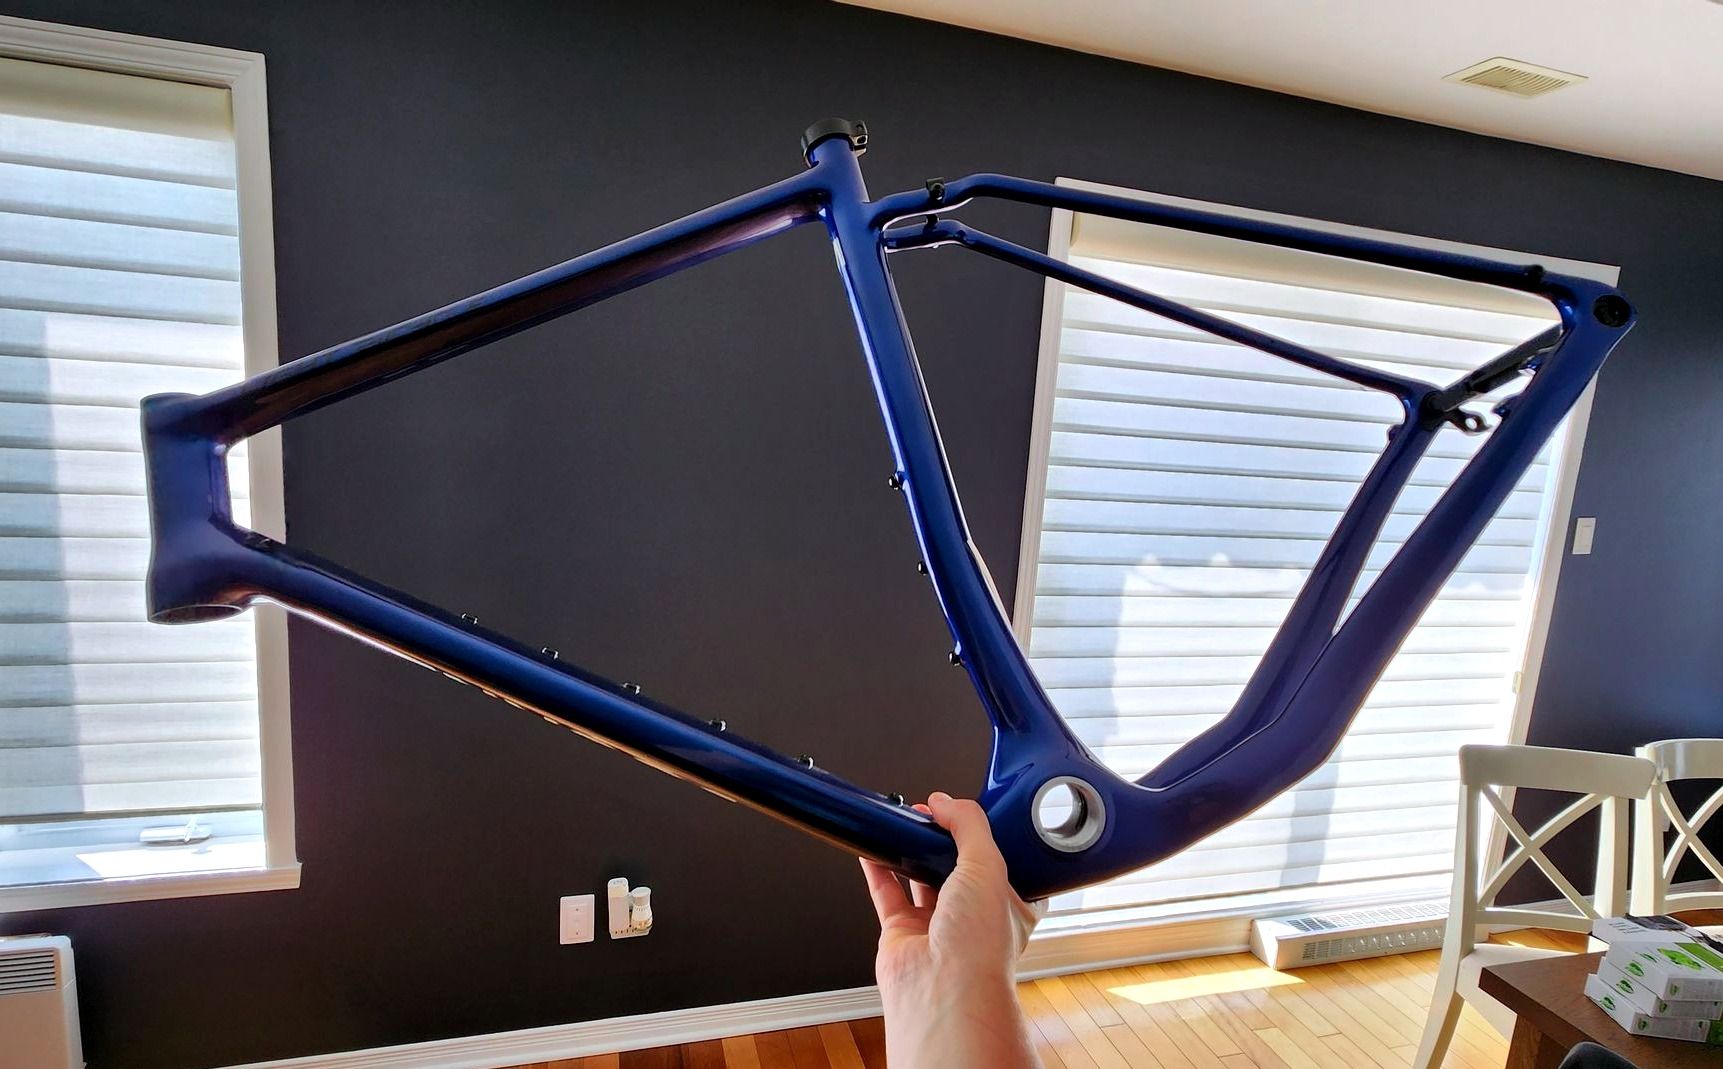
The Frameset: Light Bicycle Journey
I originally wanted to make a build around the Winspace G2 gravel bike frame. Unfortunately, it was out of stock when I decided to proceed and order parts for my build.
It turns out that Light Bicycle is making a similar frame called the Journey Gravel Frameset.
I mostly shopped for those characteristics:
- Carbon (lightweight)
- Many mounting points
- Possible to mount fenders and a rack
- Possible internal cable routing
- Accommodate large tires (700x45C)
- Accepts 2x drivetrain
Luckily Light Bicycle had a blue frameset already en route to the North American warehouse, which I purchased.
The Frameset comes with a seatpost that I did not use because I opted for a suspension seatpost.
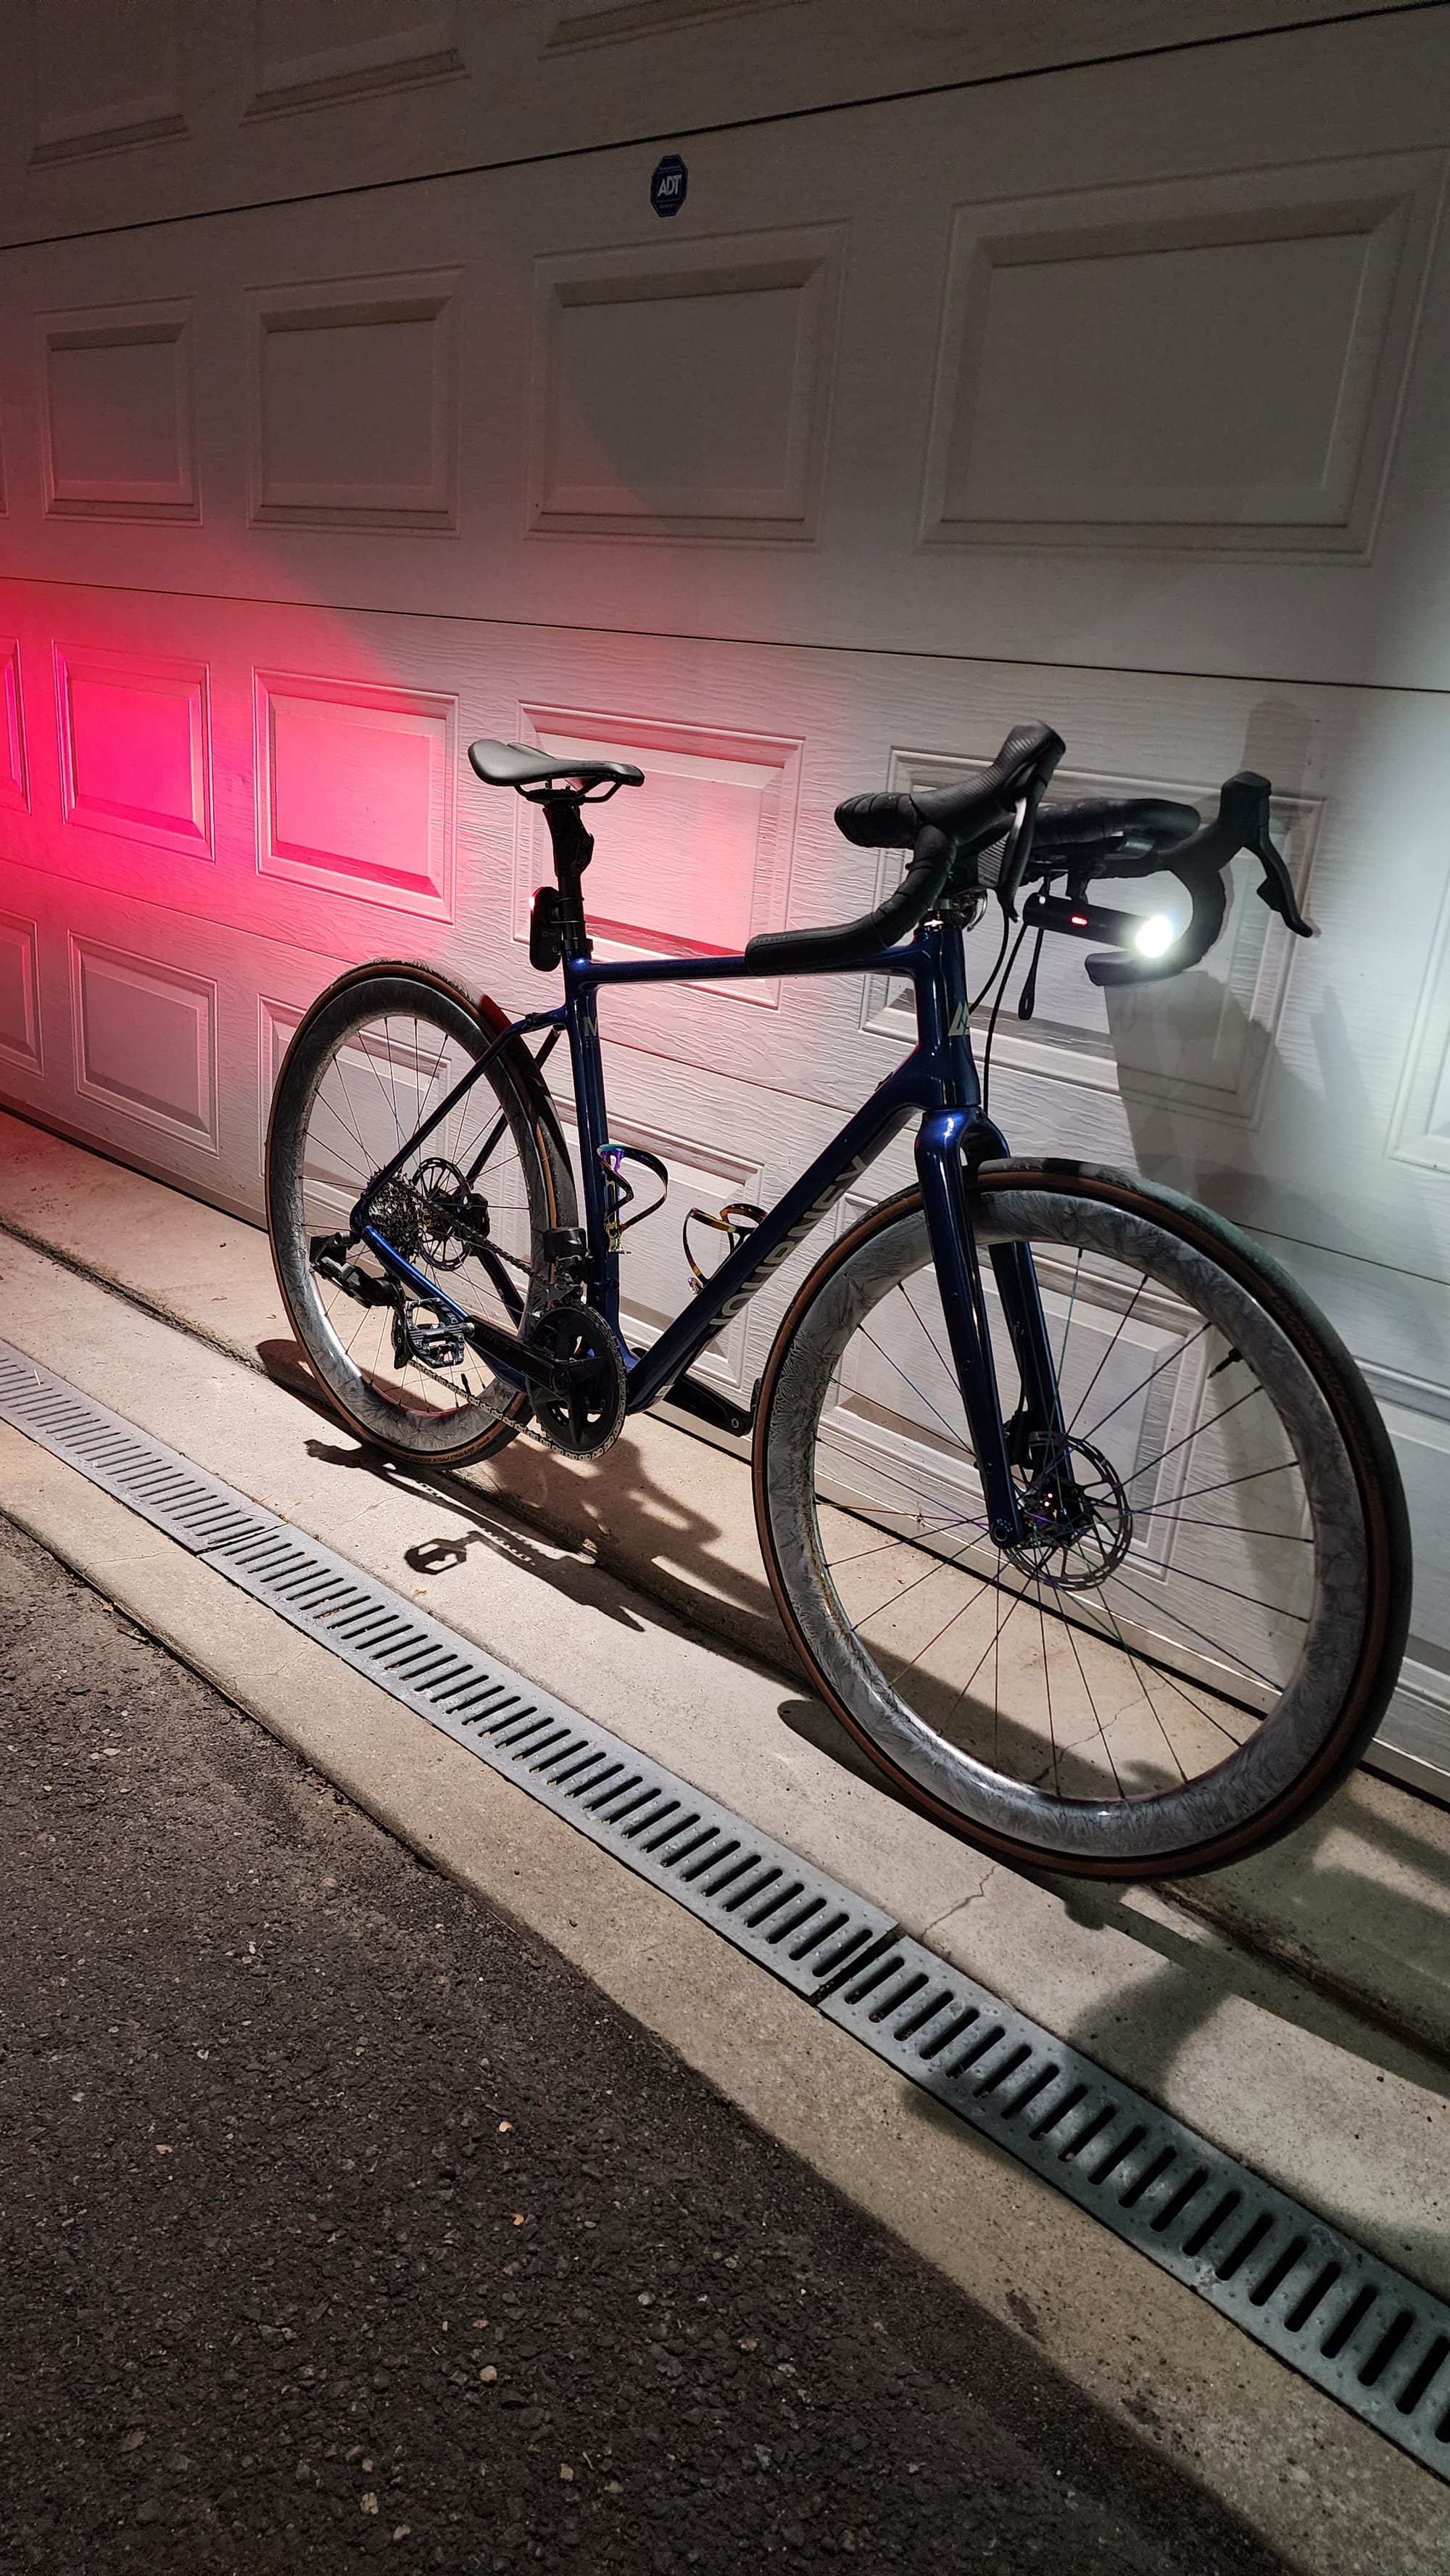
The Road Wheelset
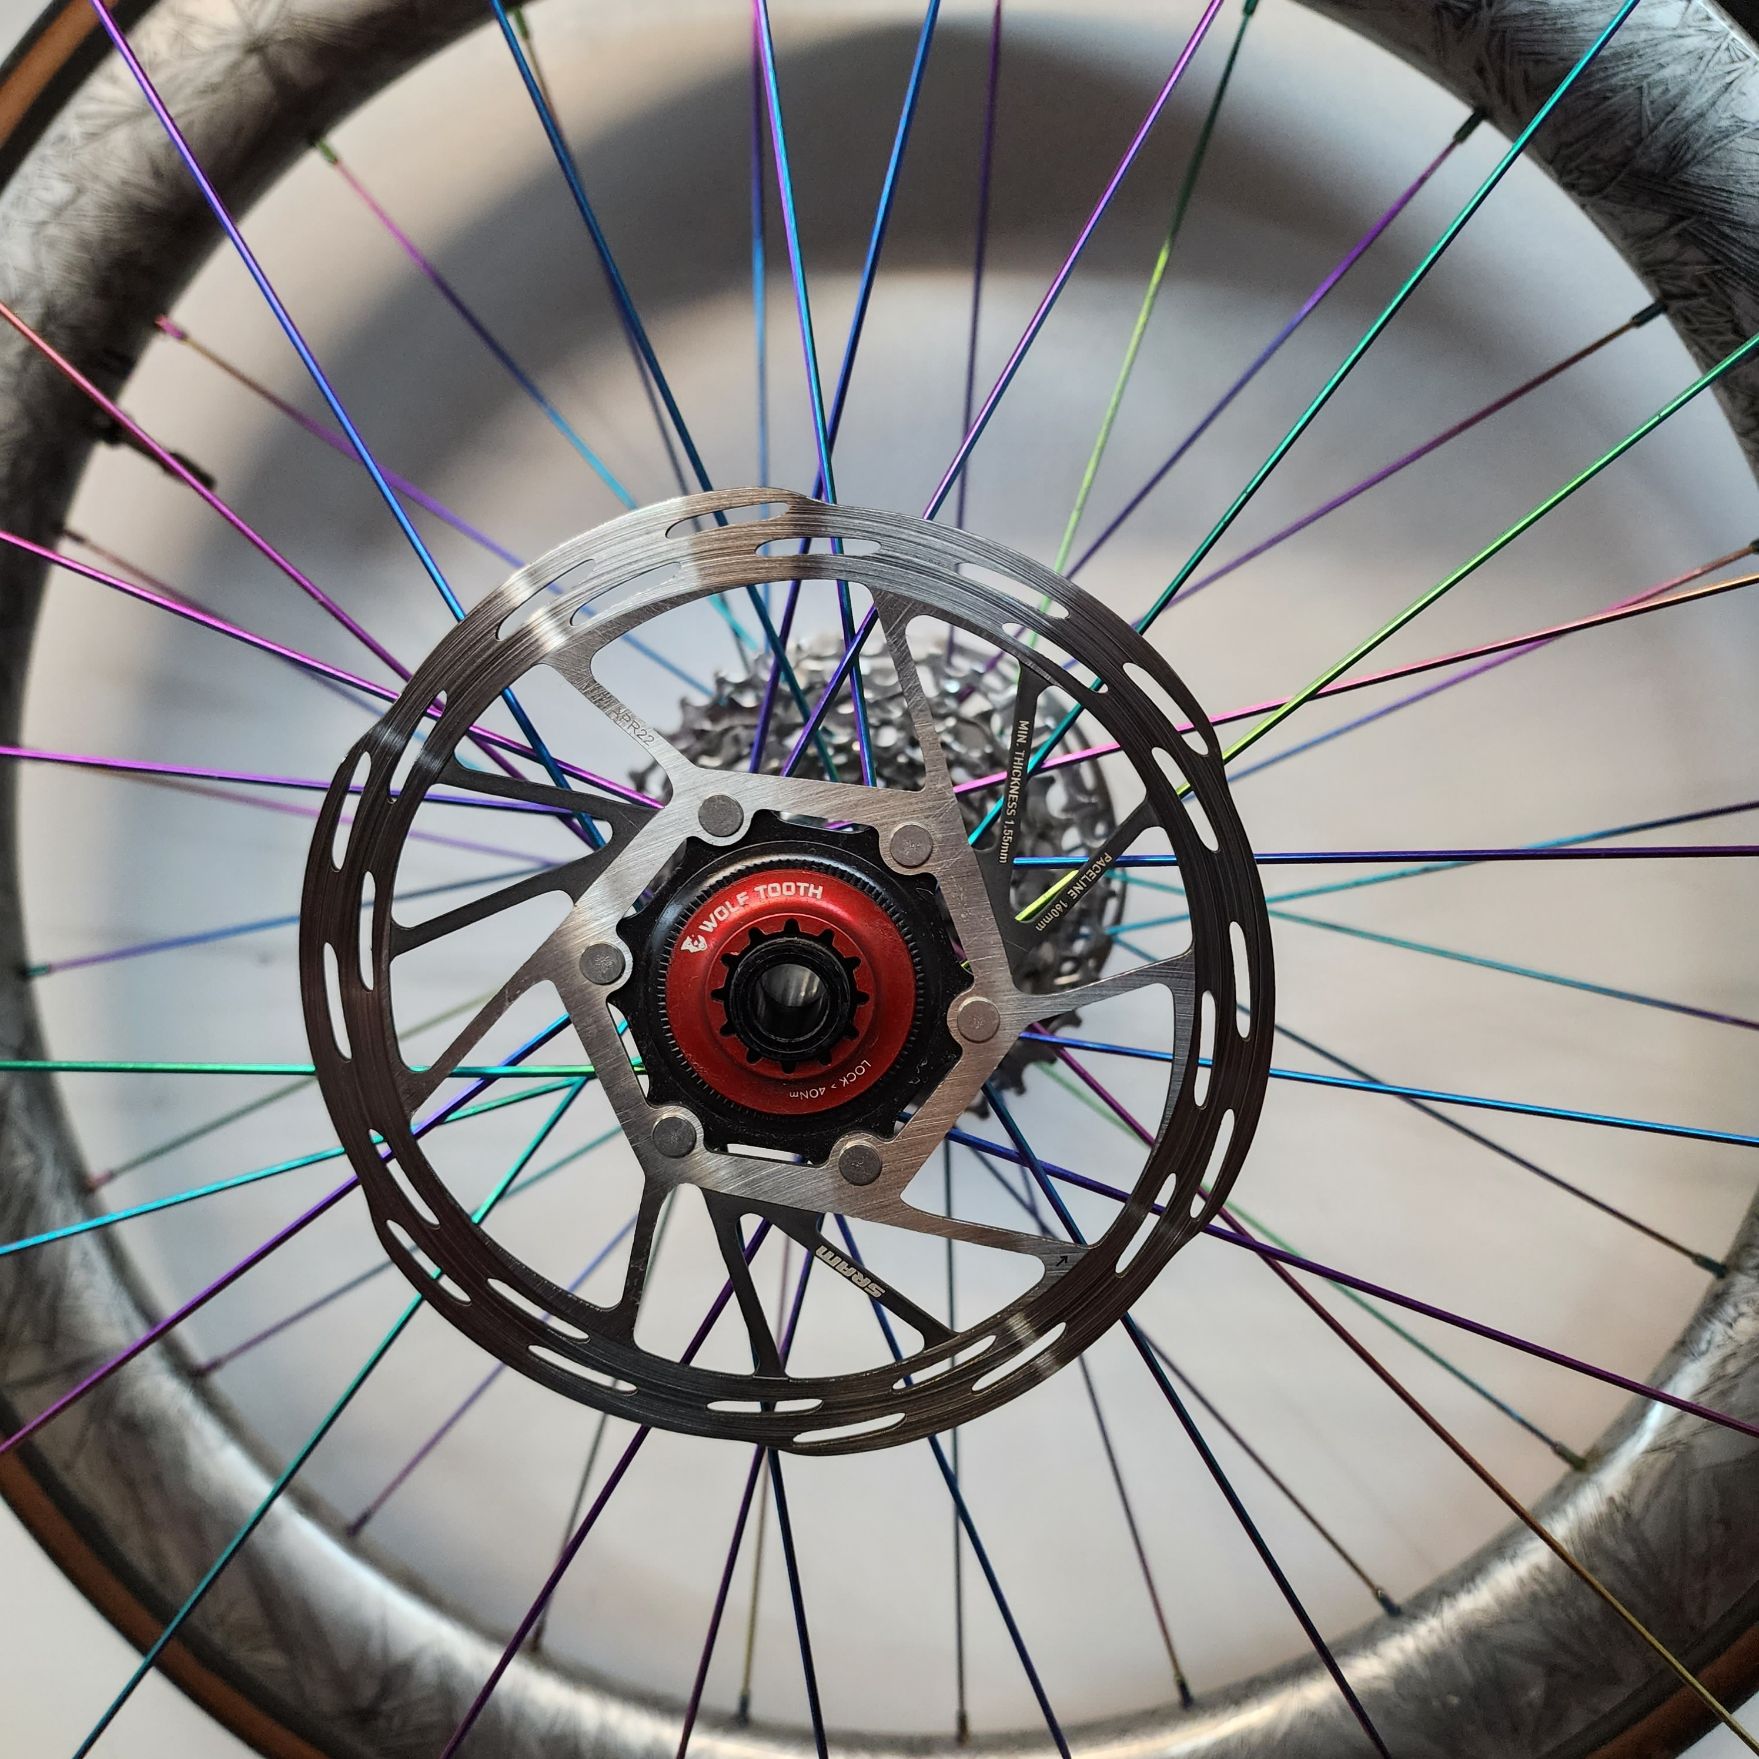
Light Bicycle custom road wheels 50mm deep / 32mm wide
For the road wheelset, I wanted to get my first set of carbon wheels. I have only ridden alloy wheels on an aluminum frame so far (nothing wrong with that!).
What's cool when you order wheels from Light Bicycle is that they offer a large degree of customization when ordering the wheels. Choose the hub, spokes, nipples, and finish of the rim.
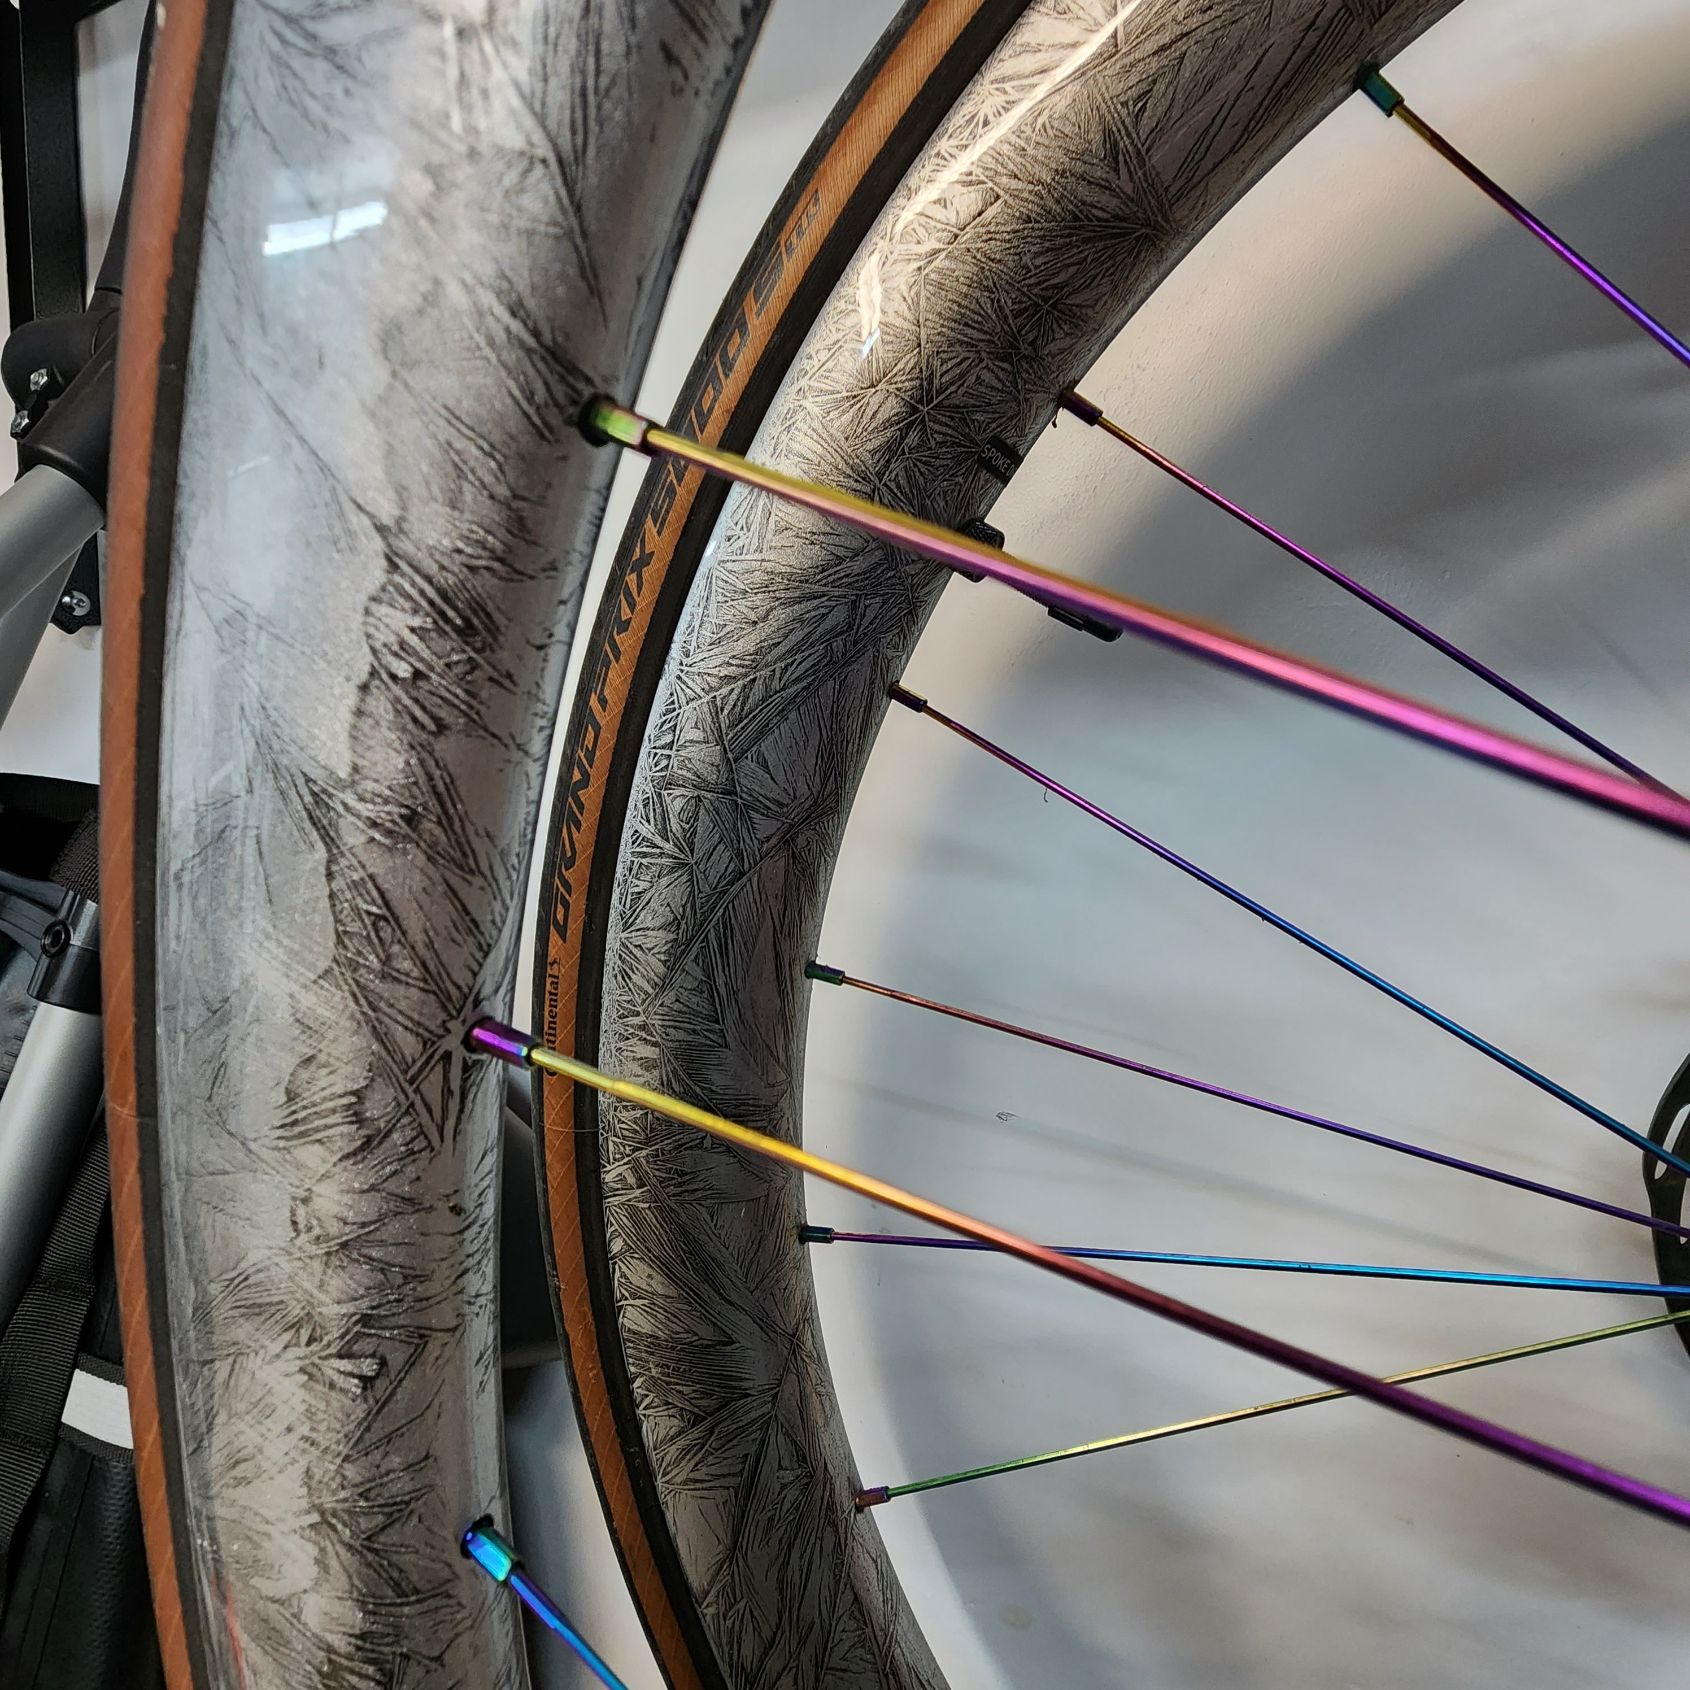
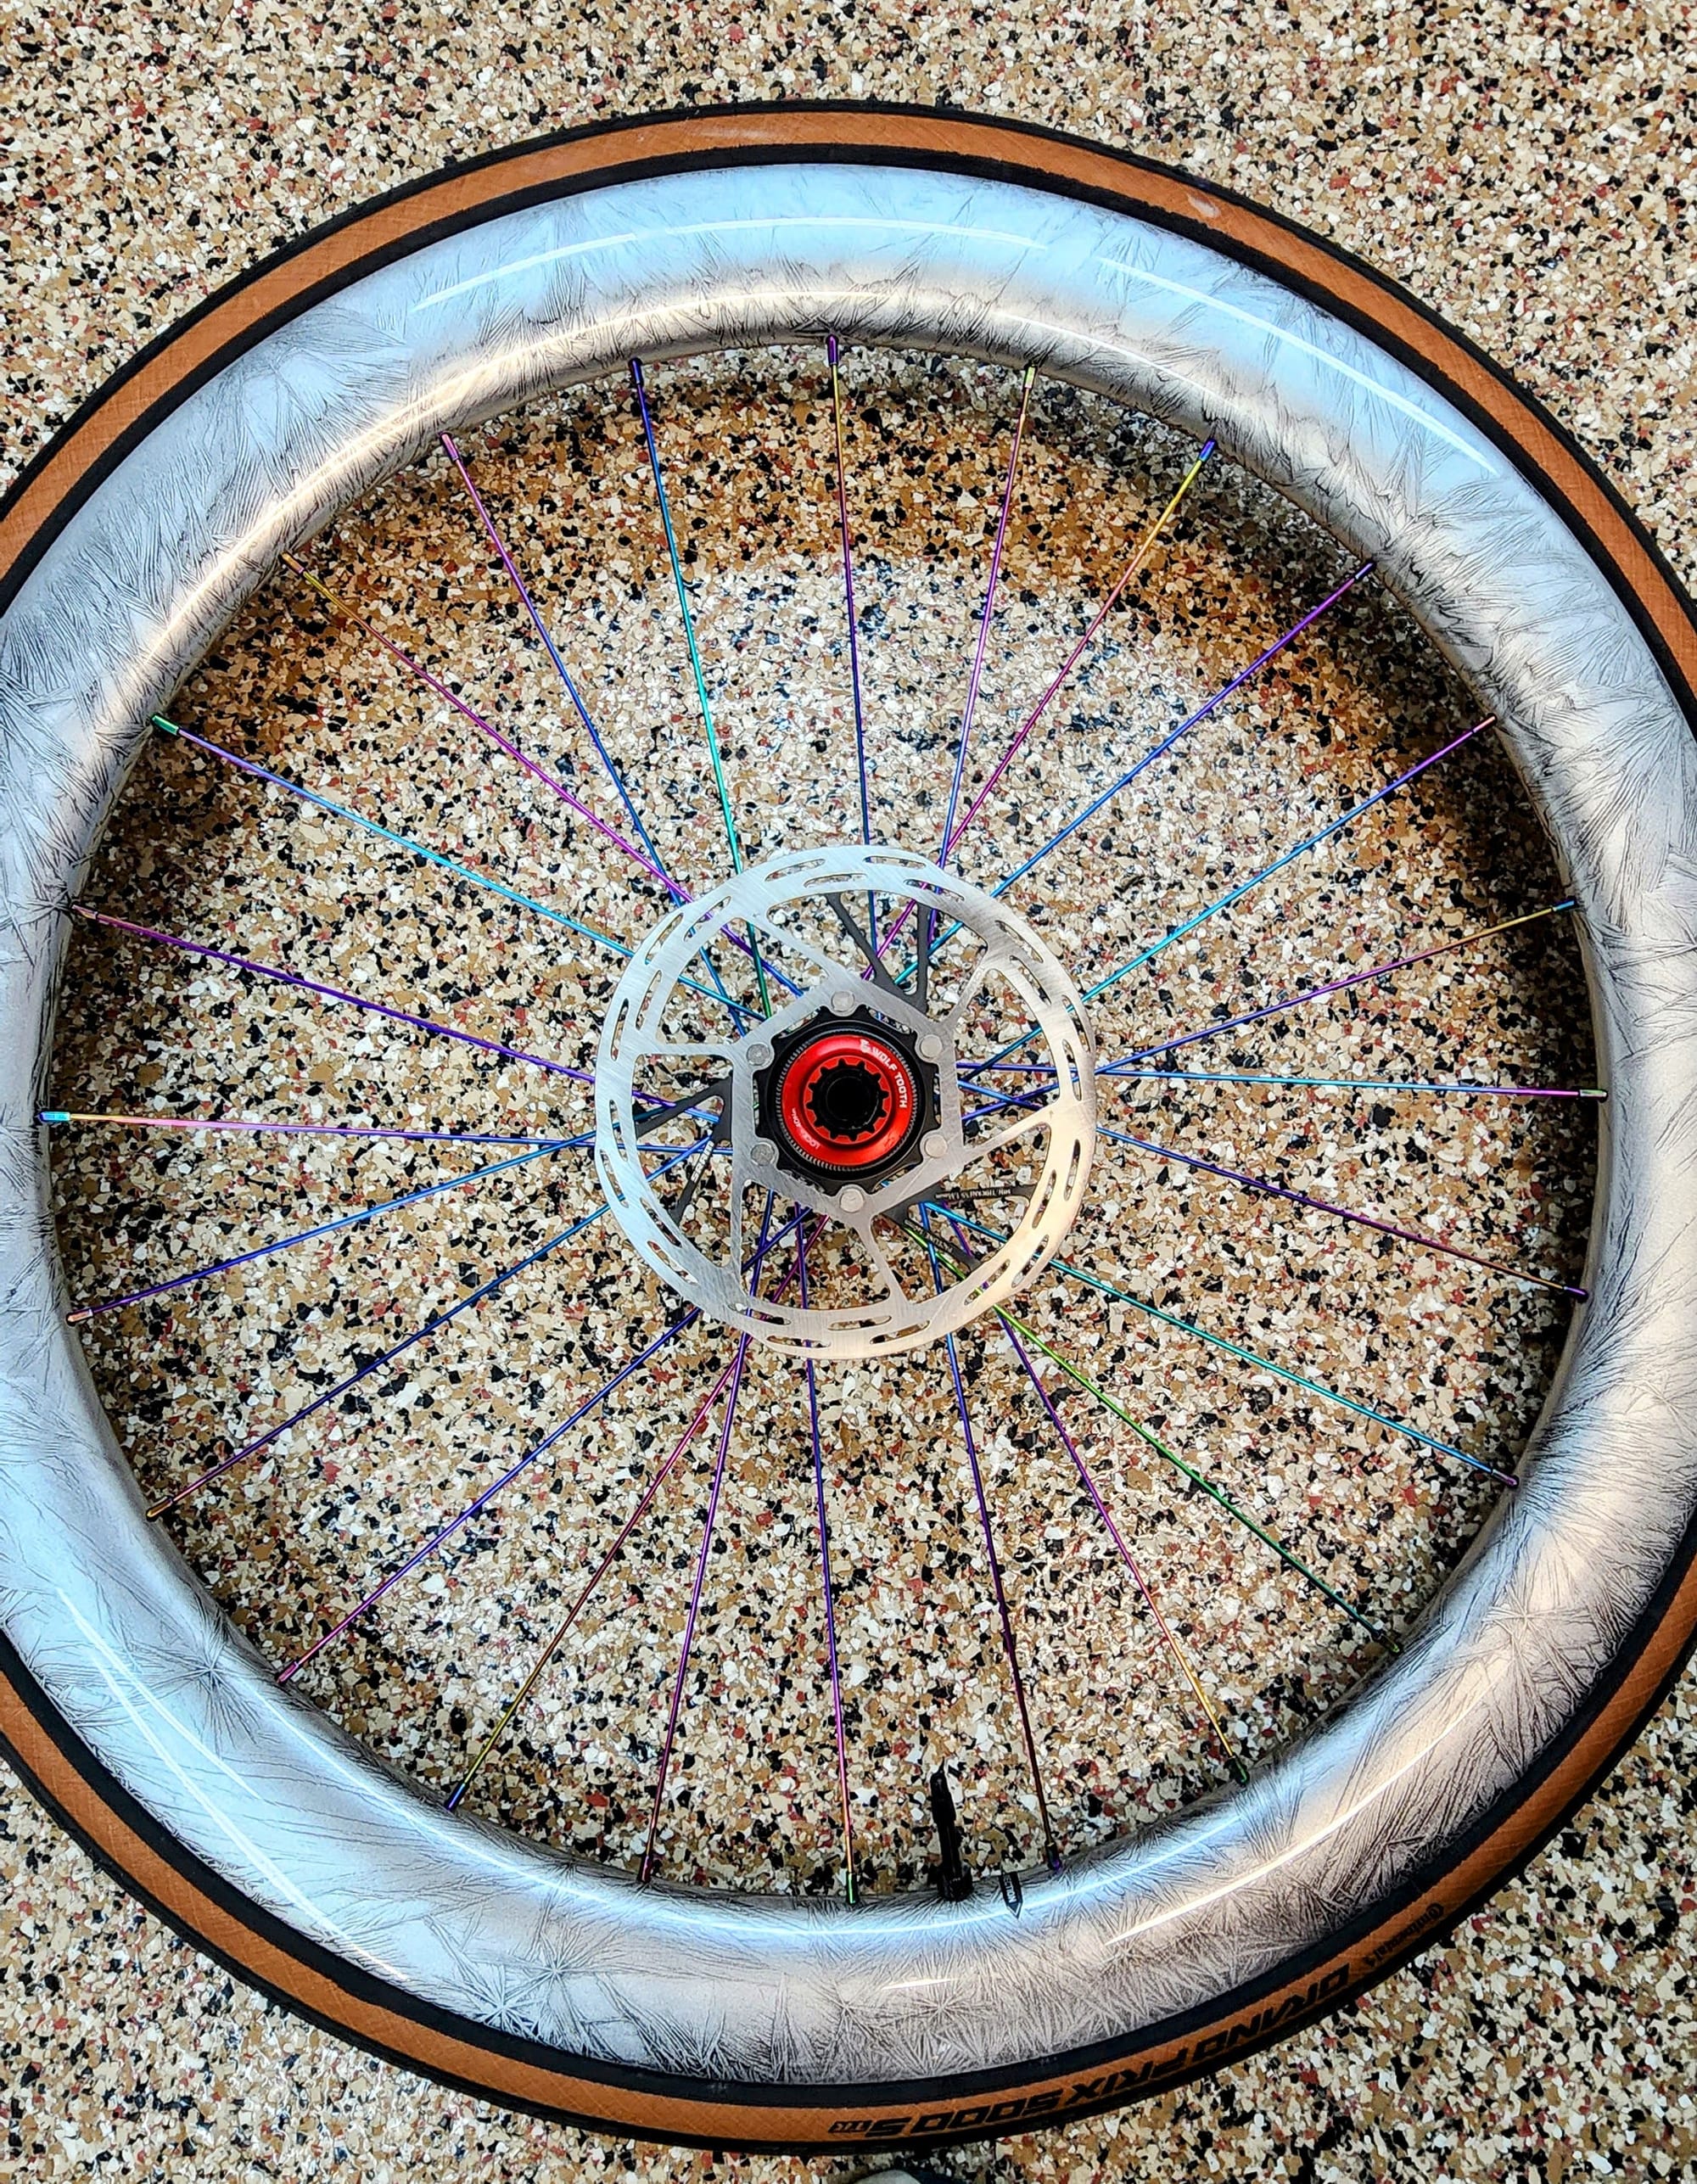
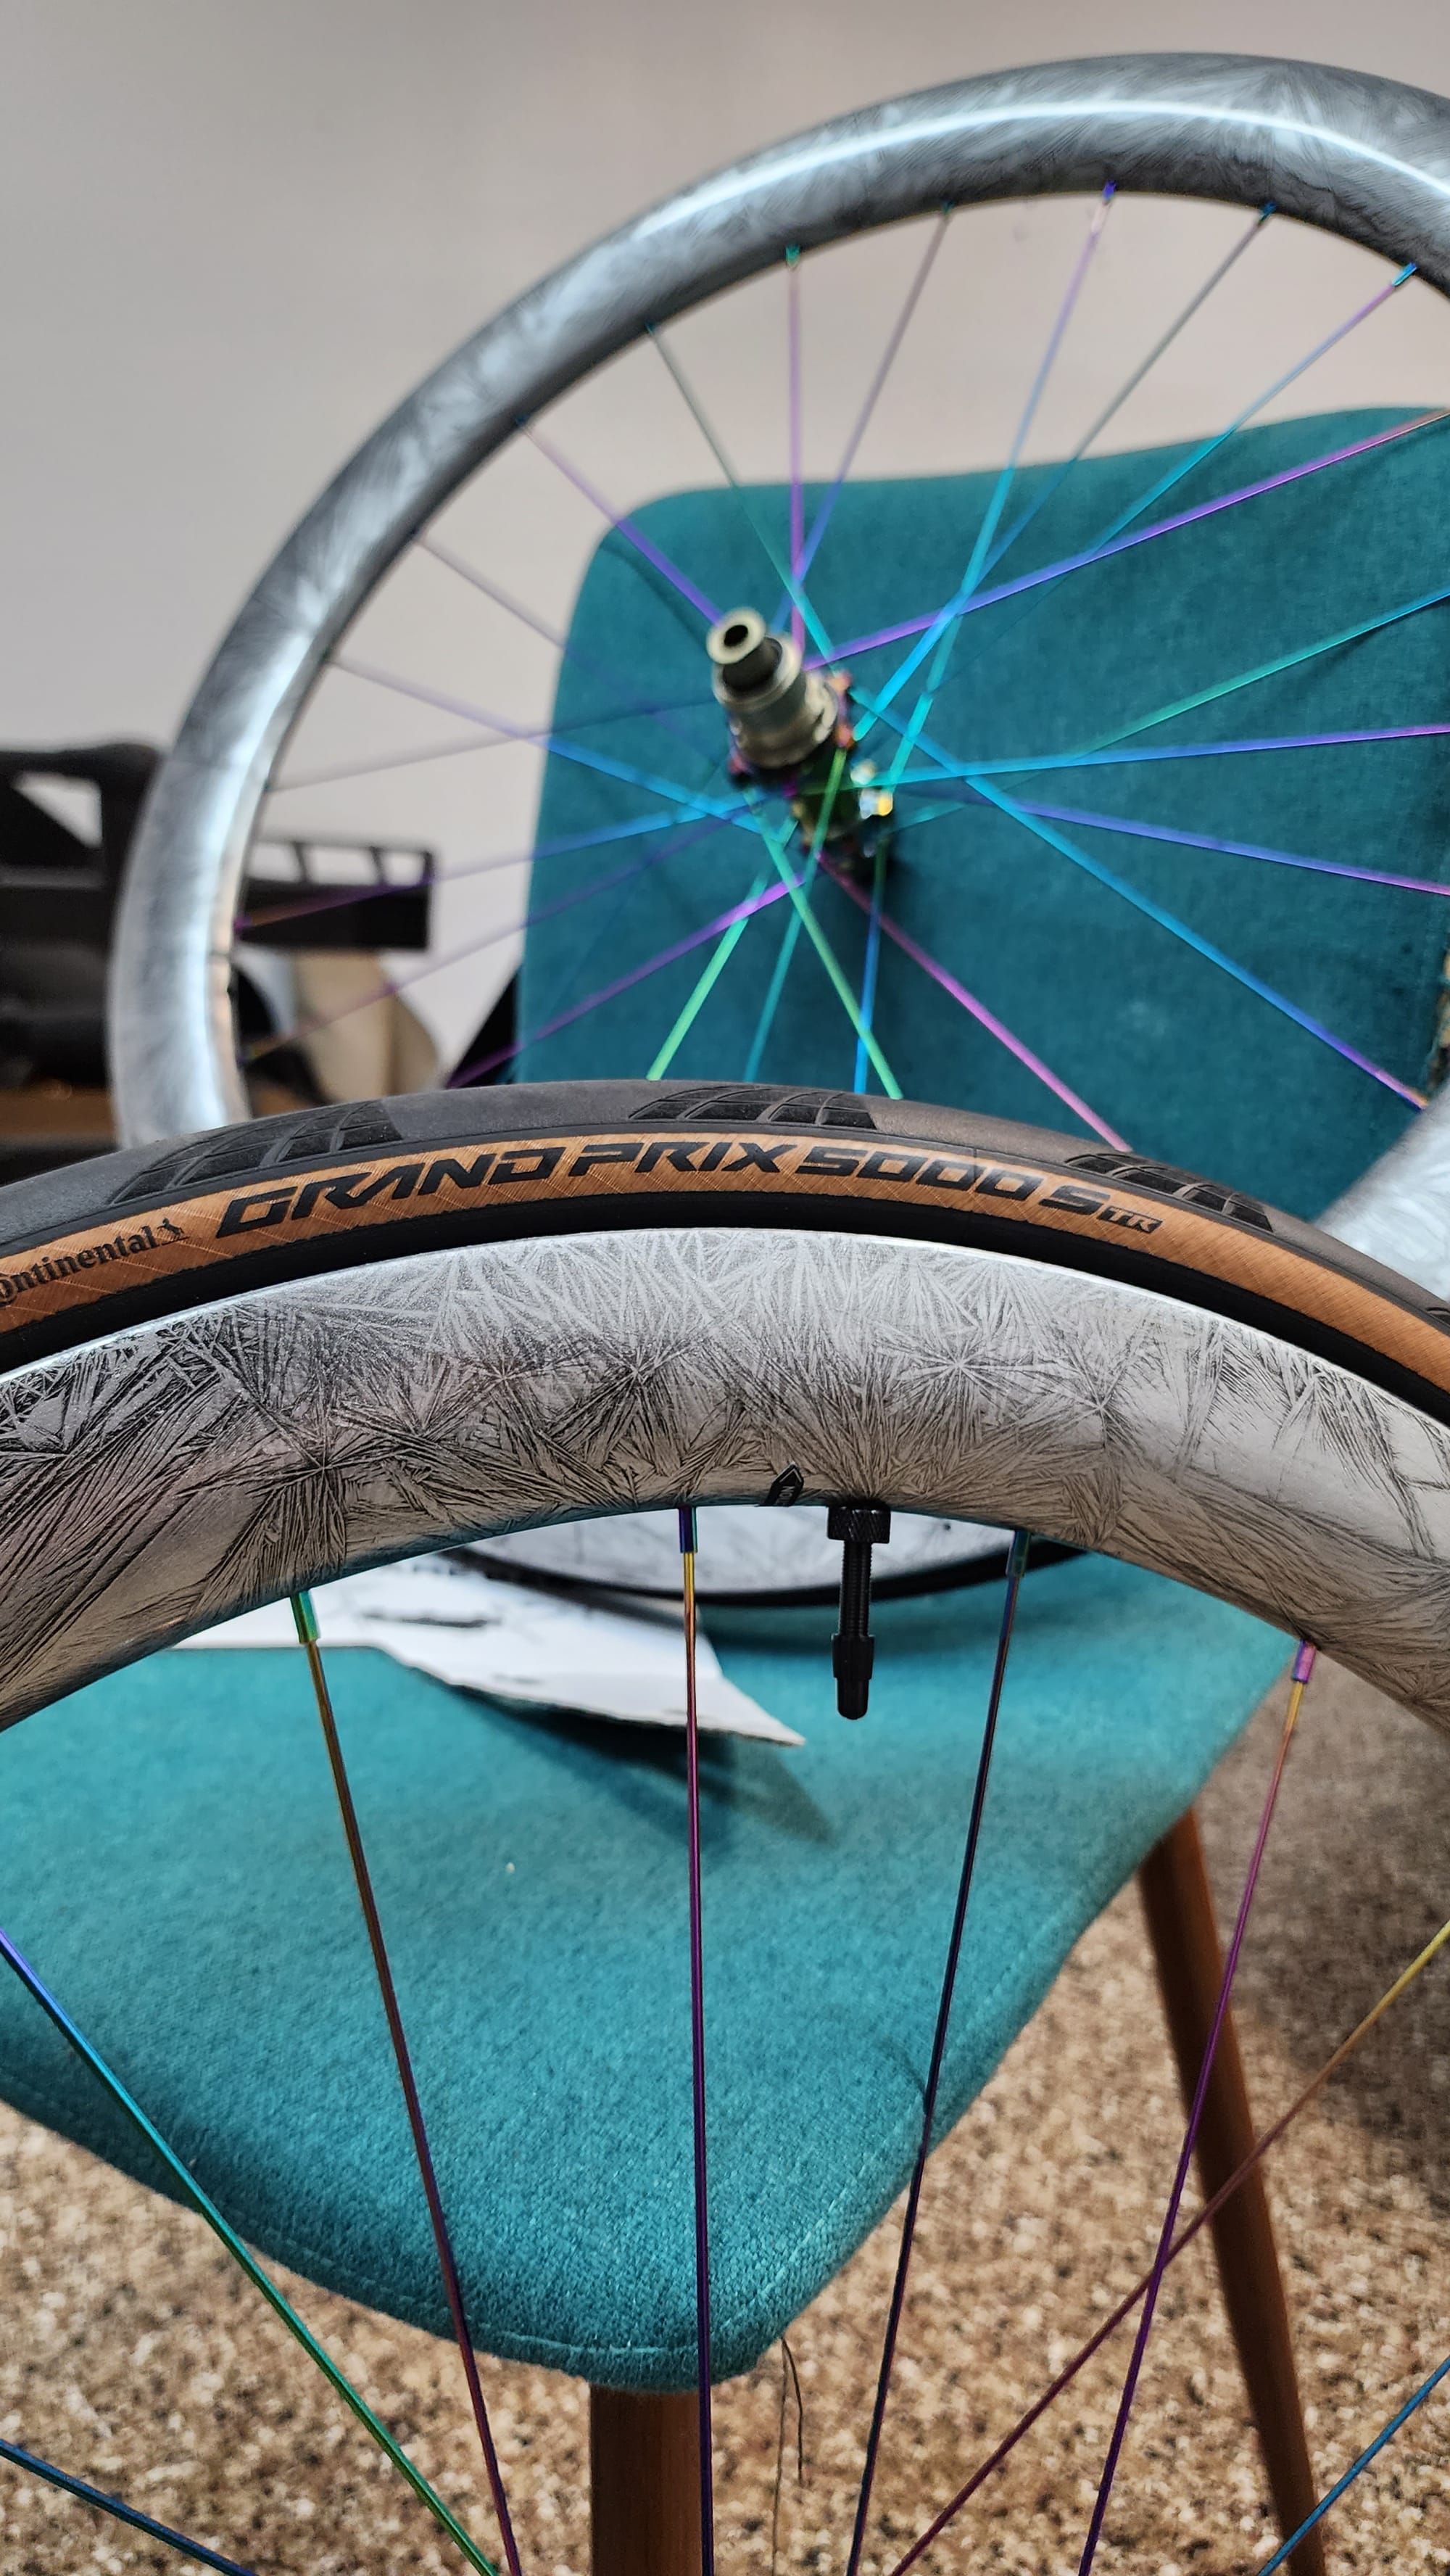
I like riding wide road tires (Continental GP5000 32C). I opted for a rim that matched that width so that the tire sits flush with the rim. It has better aerodynamics on top of looking nice. I opted for a 50mm deep, 32mm (external) wide rim with no access hole for an easier tubeless setup (no tape required).
I built it with a Bitex Hub with an oil-slick finish, as well as with oil-slick spokes. I chose the Crystal painting finish for the rim. I went for a cool factor here. I added a red Wolfooth centerlock rotor lockring for an additional color accent.
While it is slower to get the wheels fully custom as they are made to order. I had a great experience with the Light Bicycle sales and support team which helped me finalize my build.
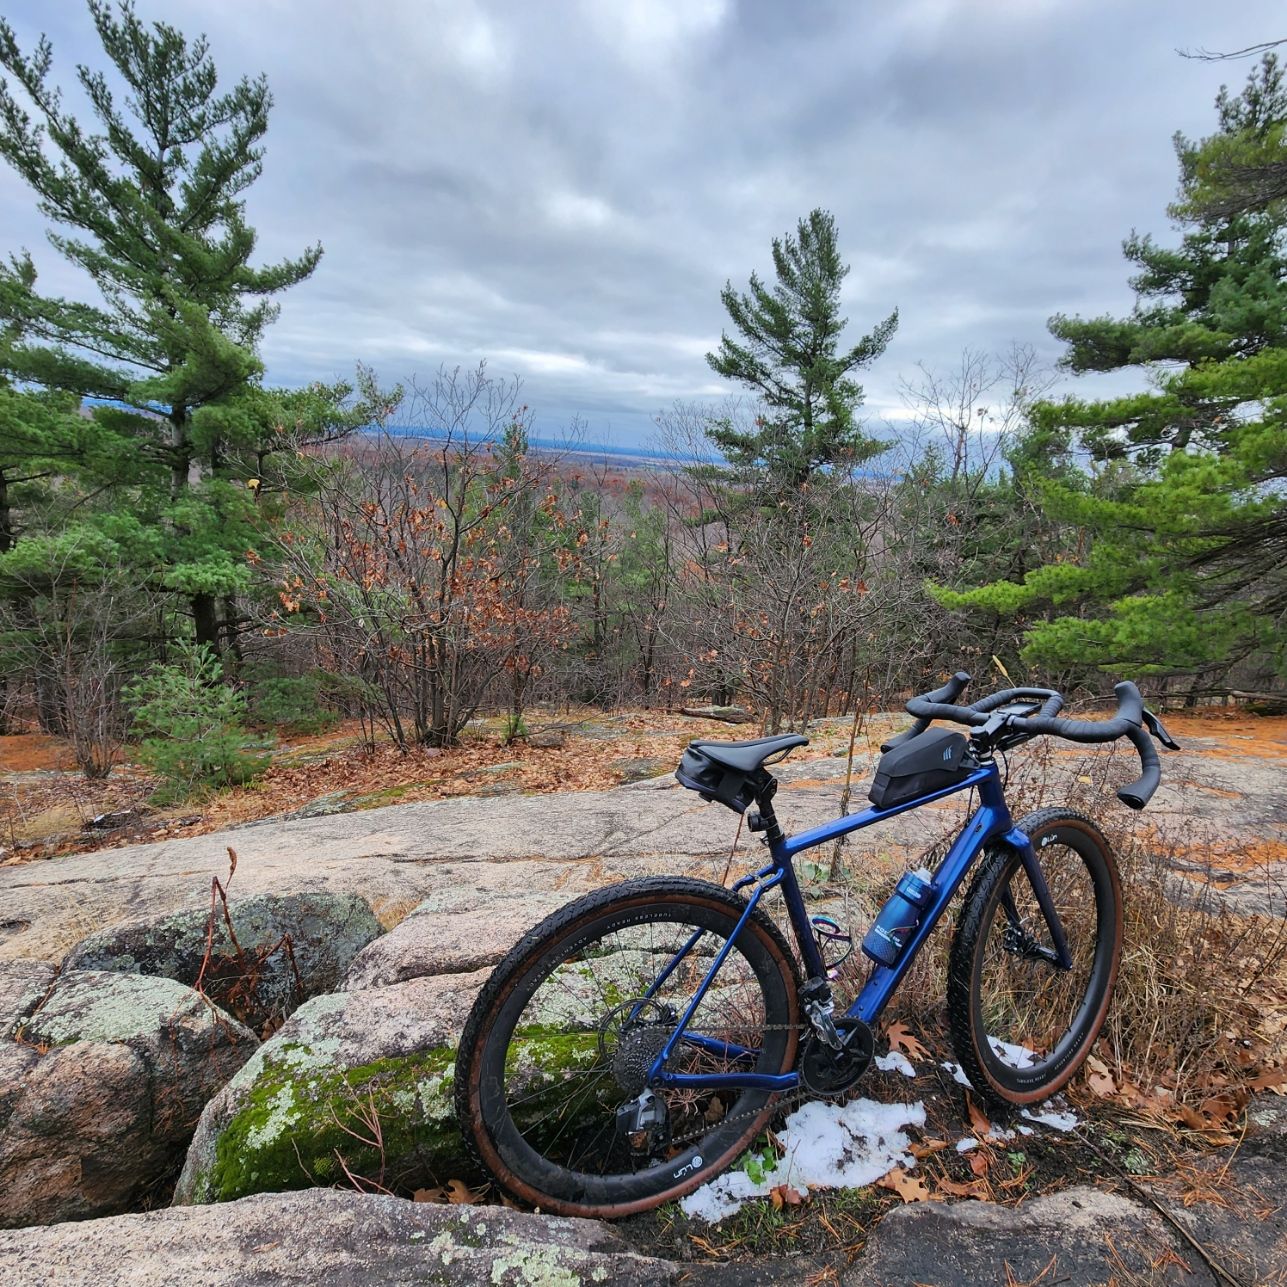
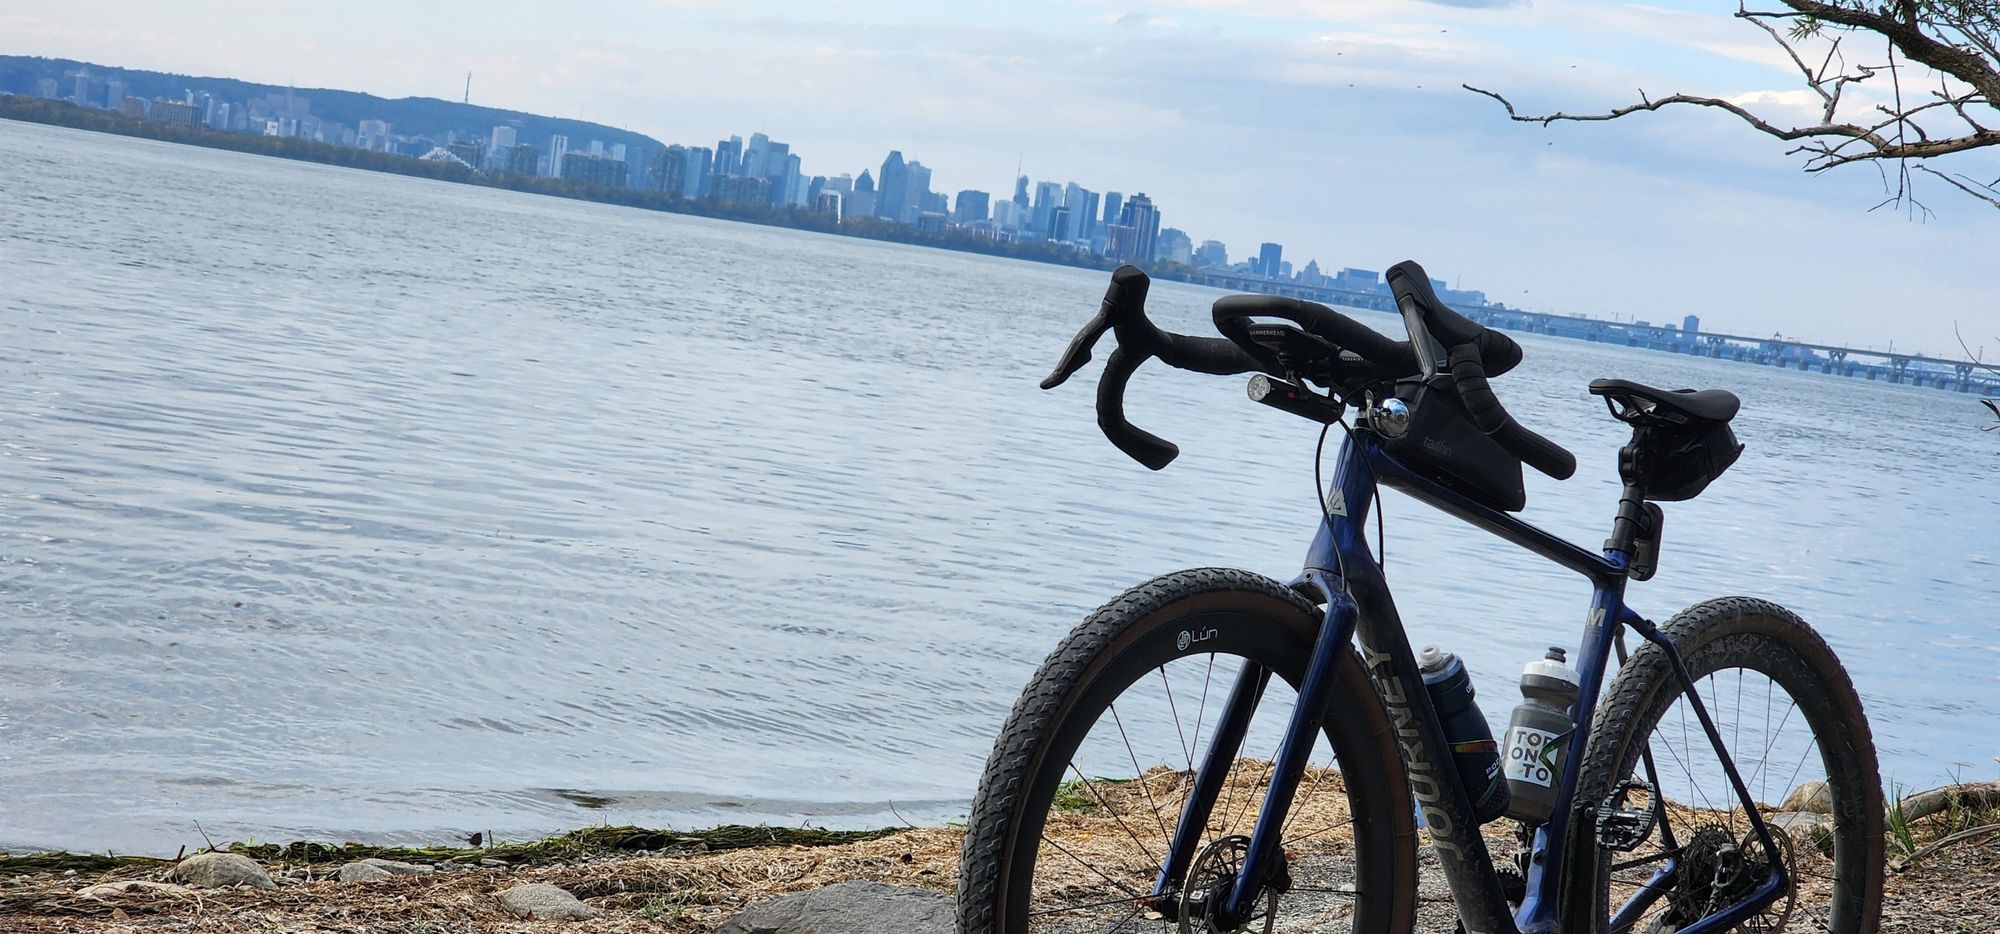
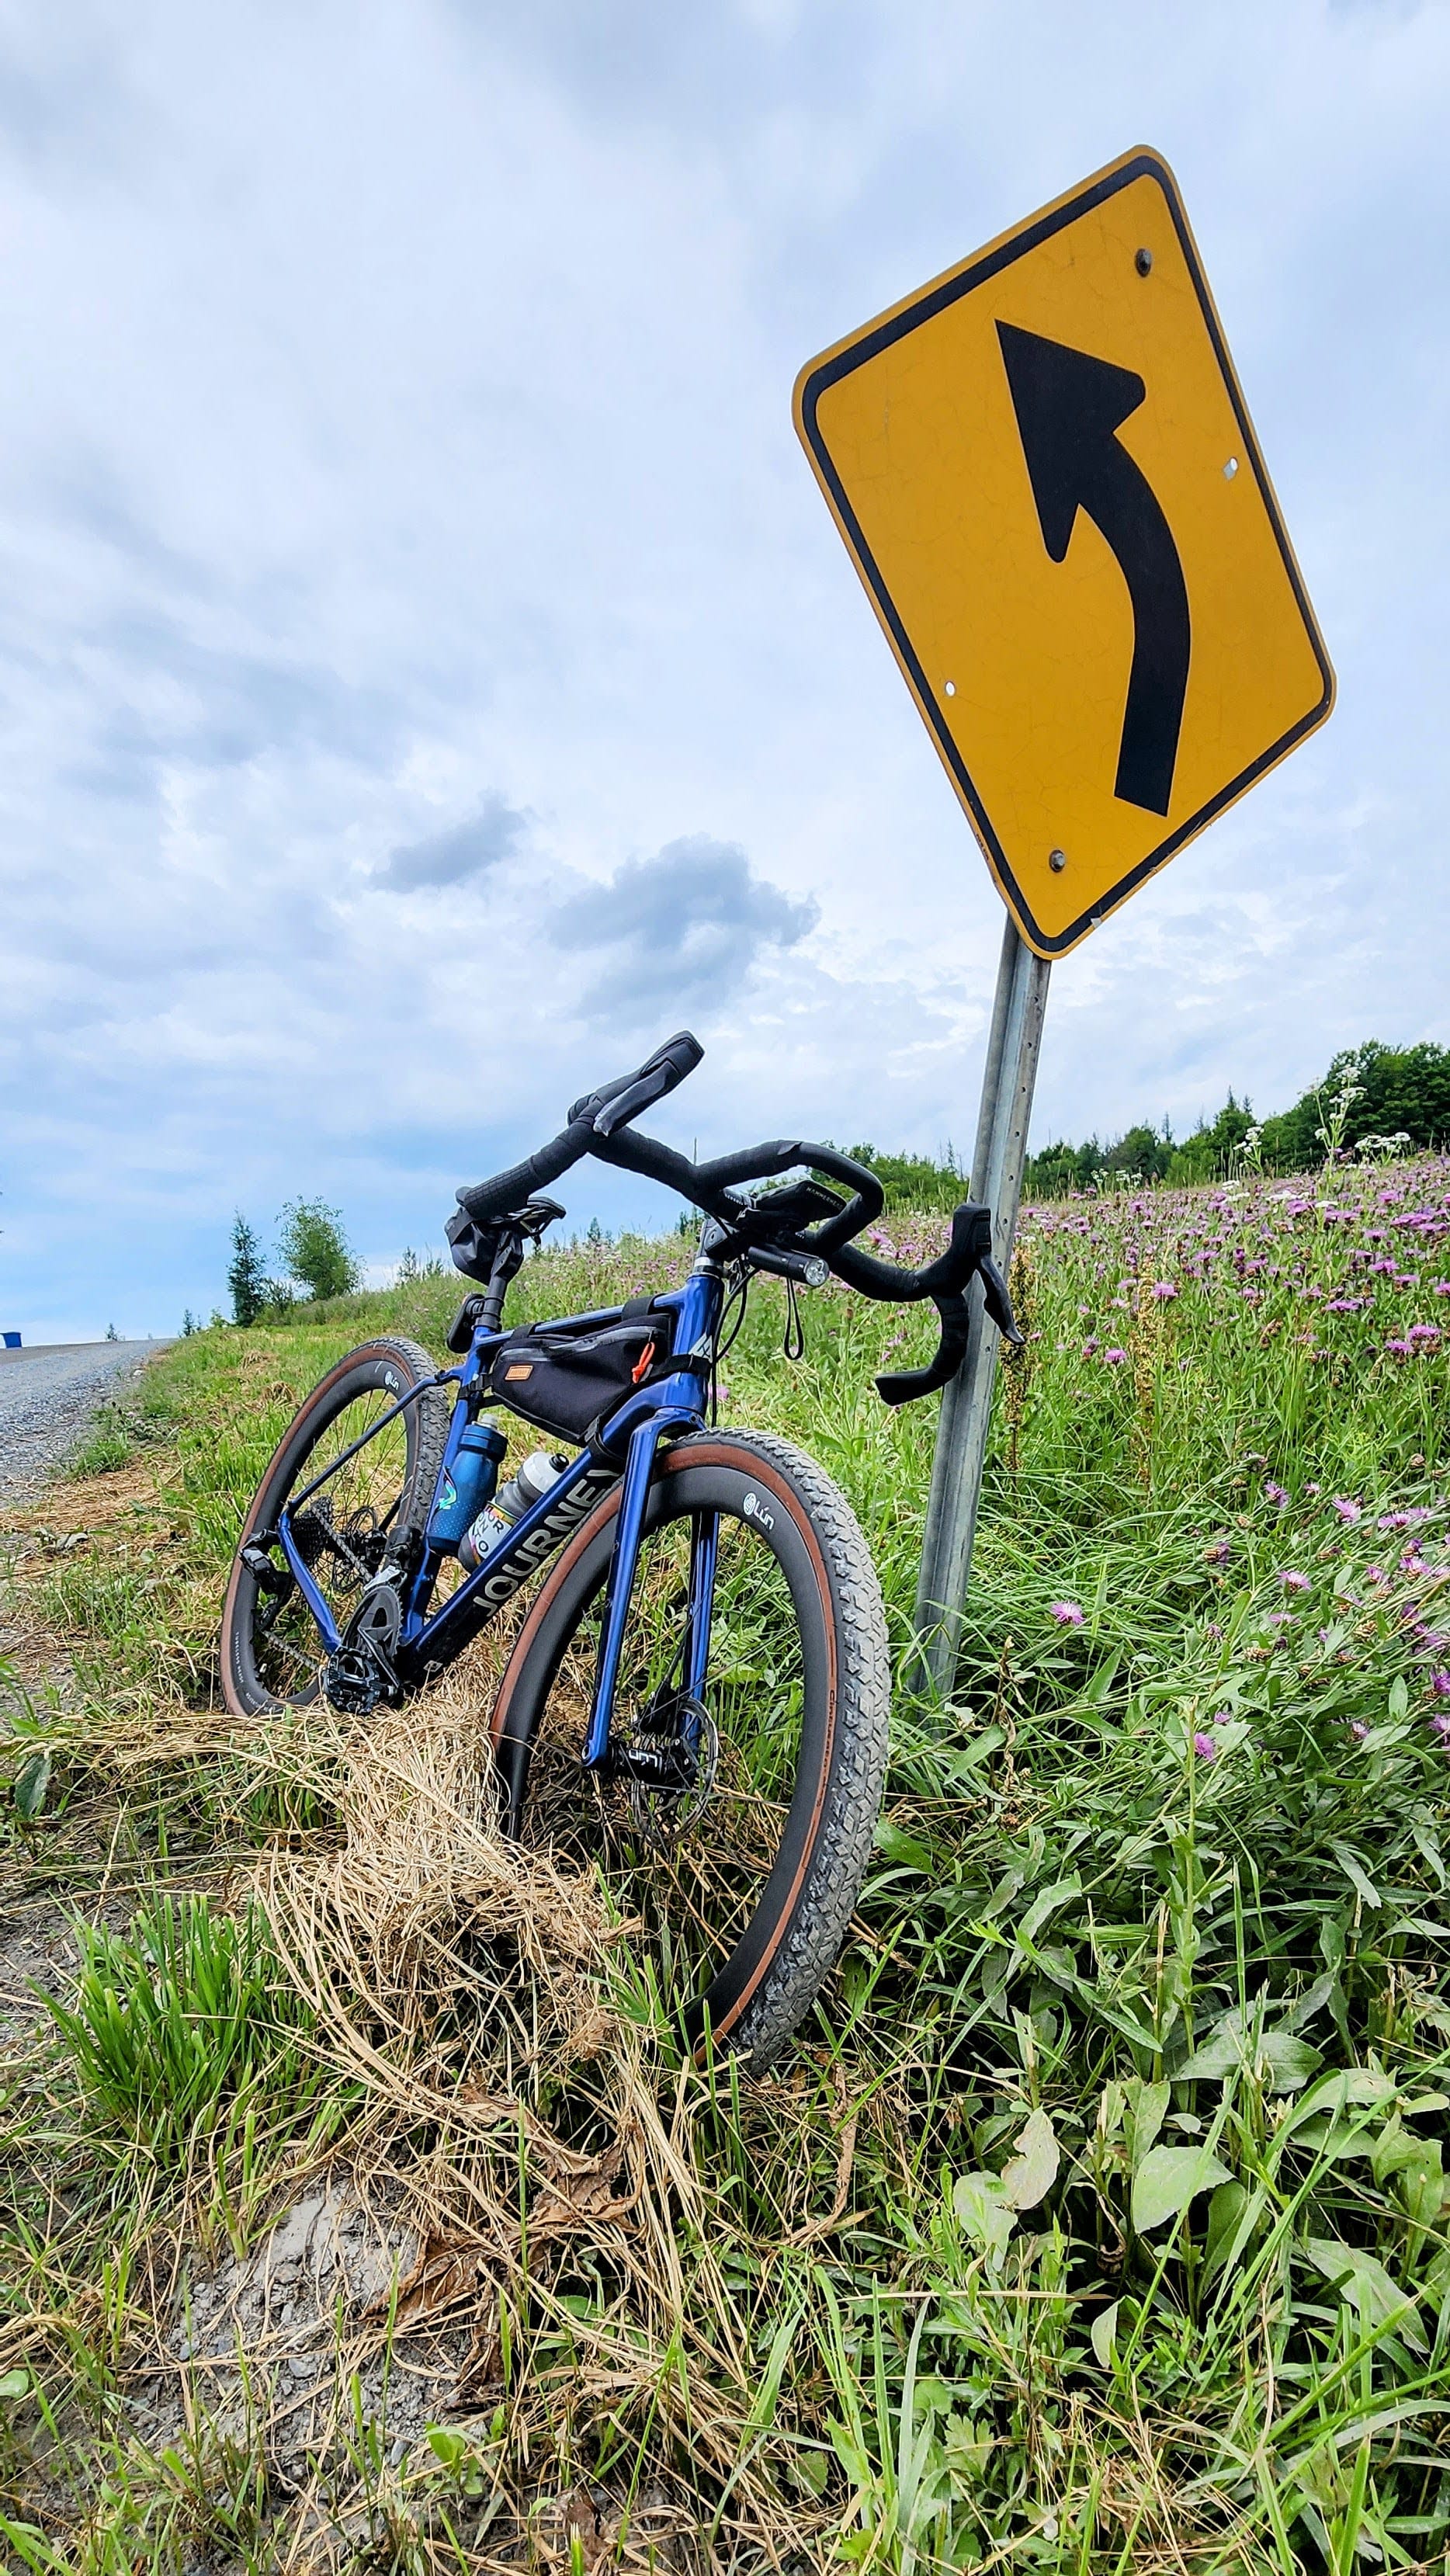
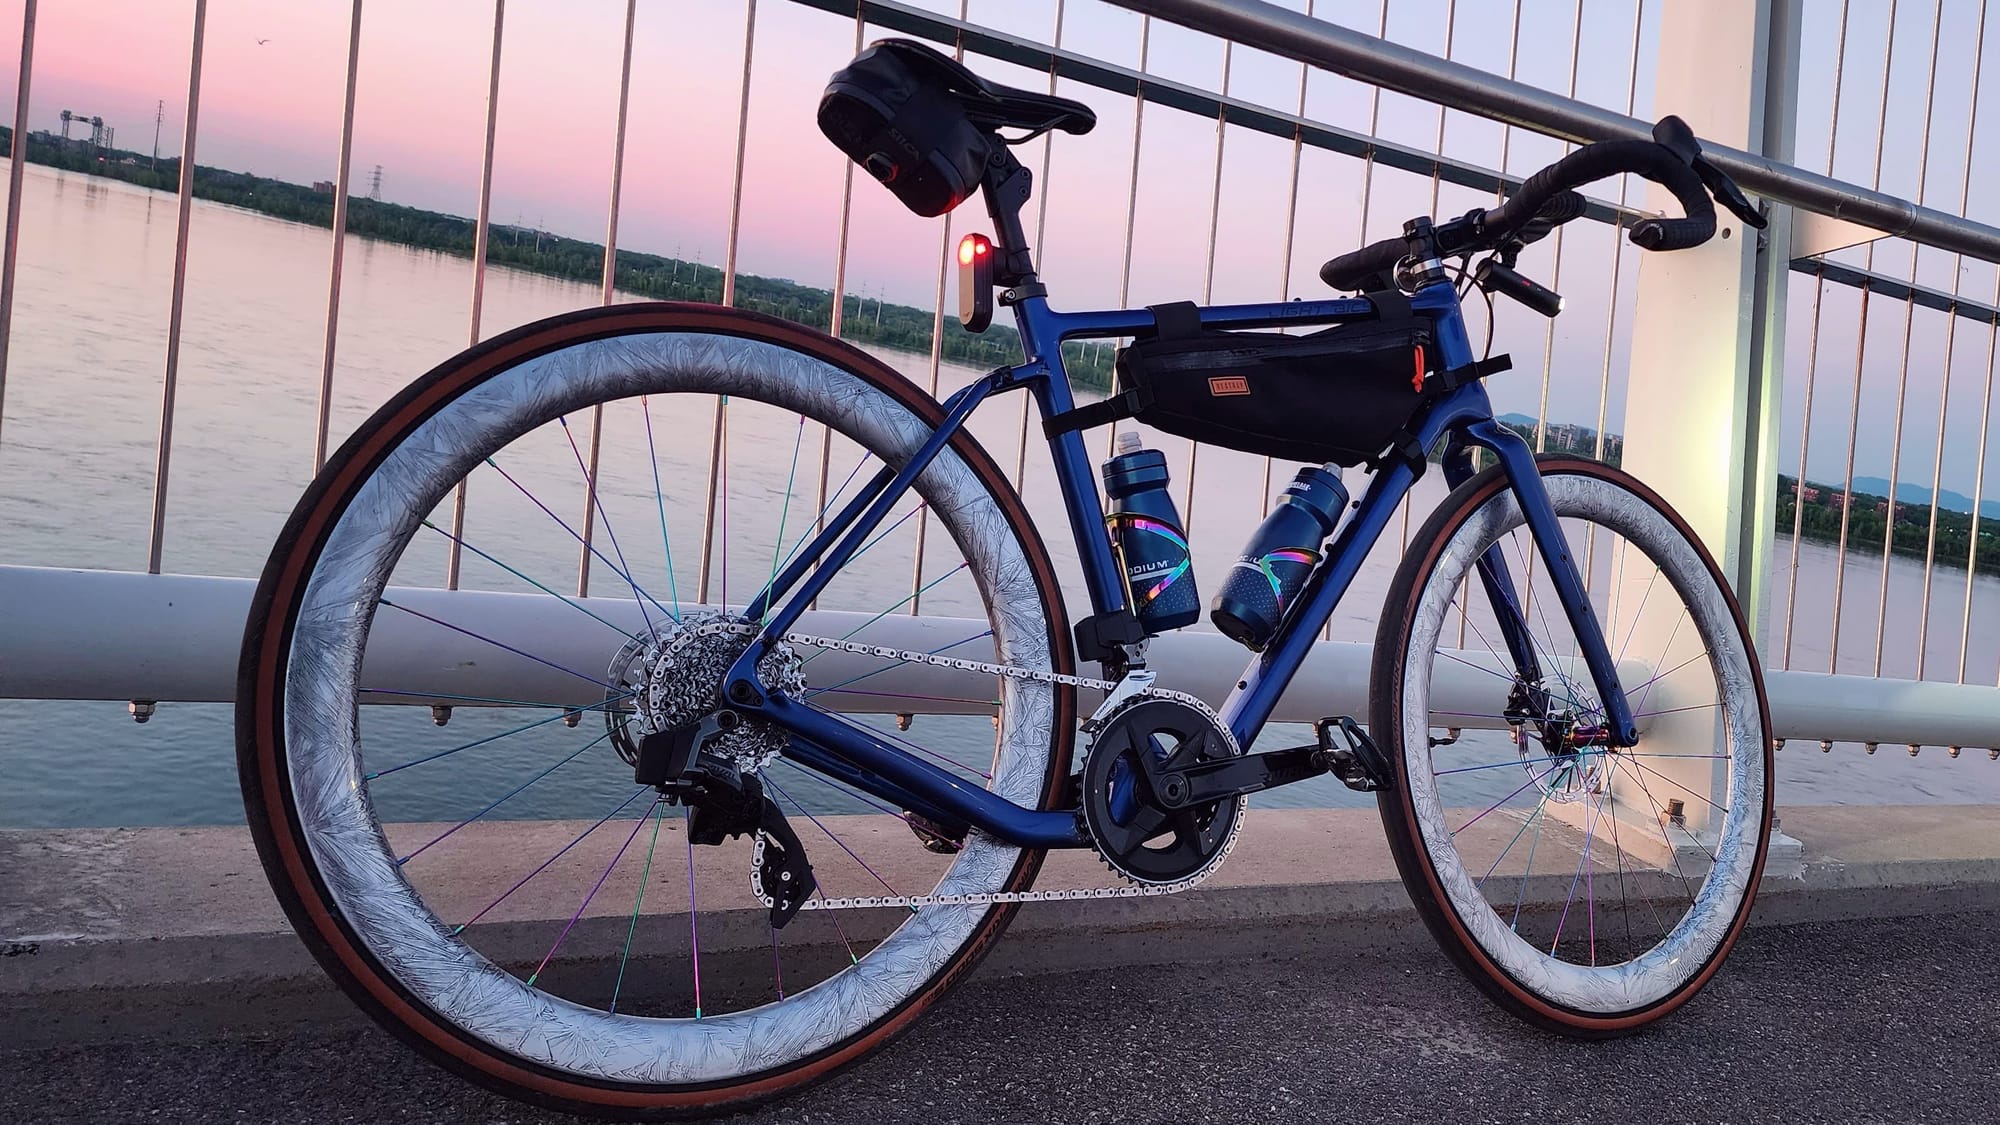
The Gravel Wheelset
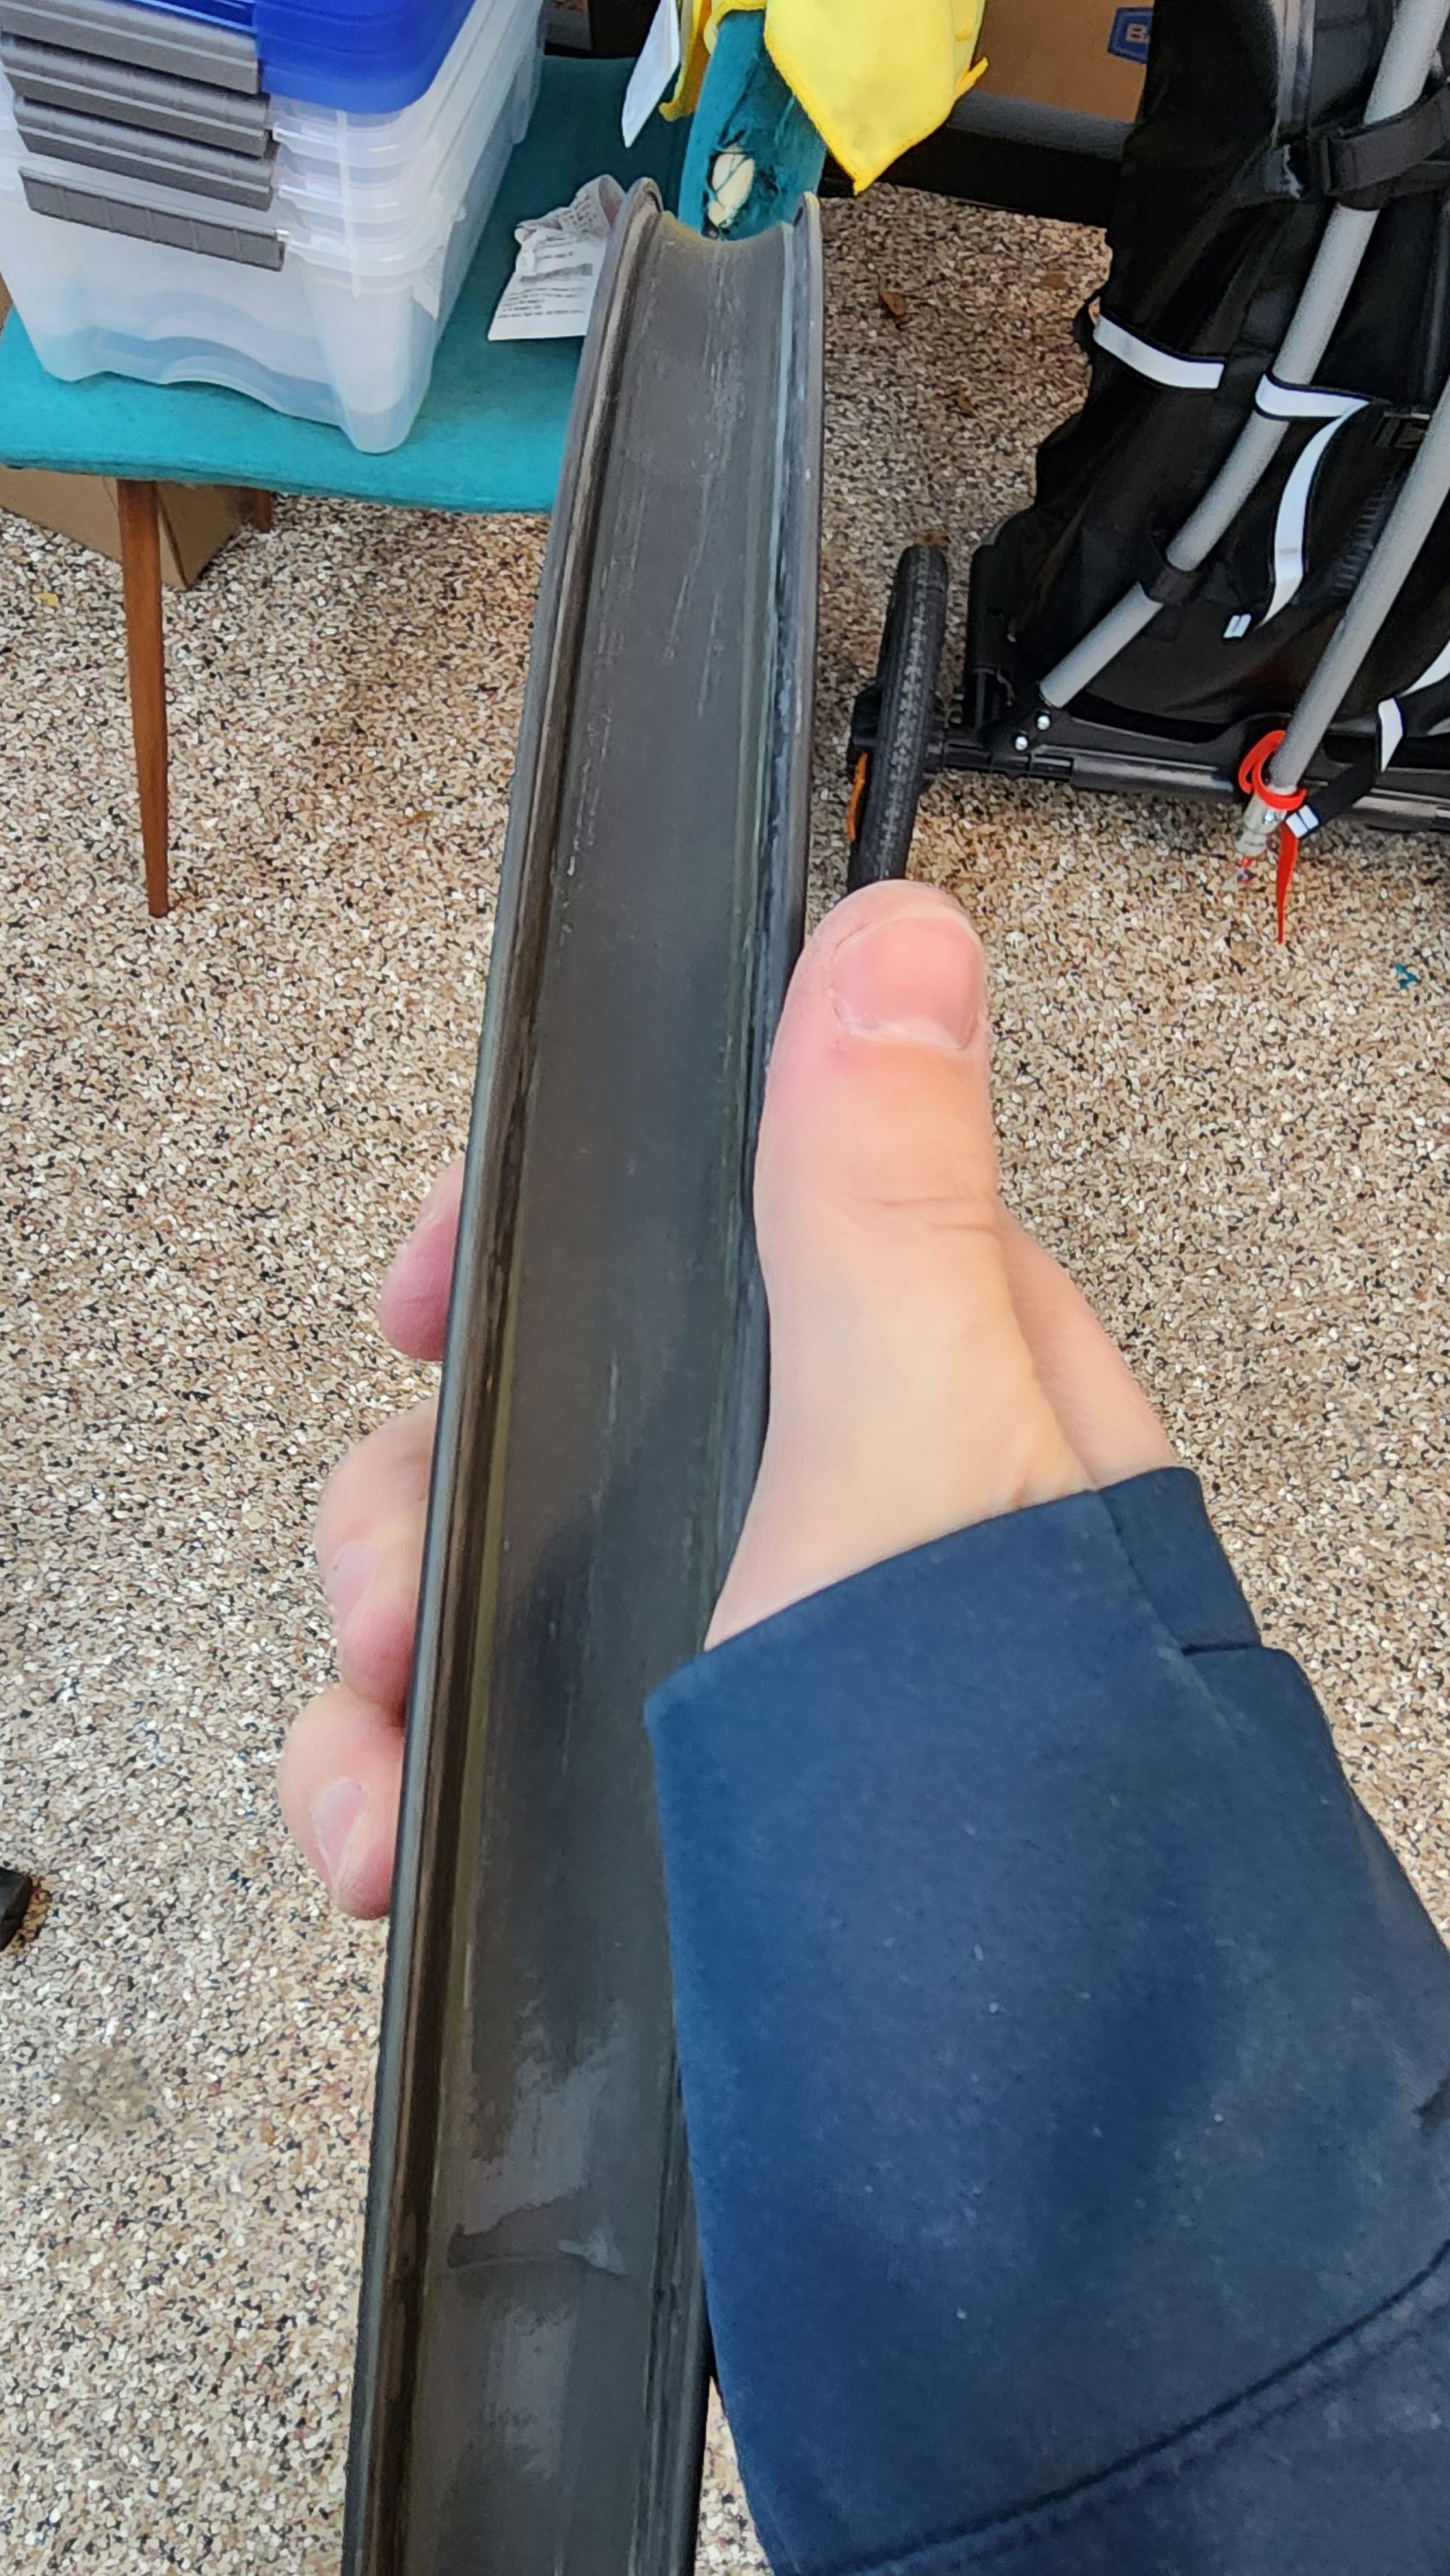
For the Gravel wheelset I opted for a set of Winspace Lún Grapid 700c Forty-Five. Those are 45mm deep and 32mm wide (external). When you think about it, its specs are fairly close to my road wheelset.
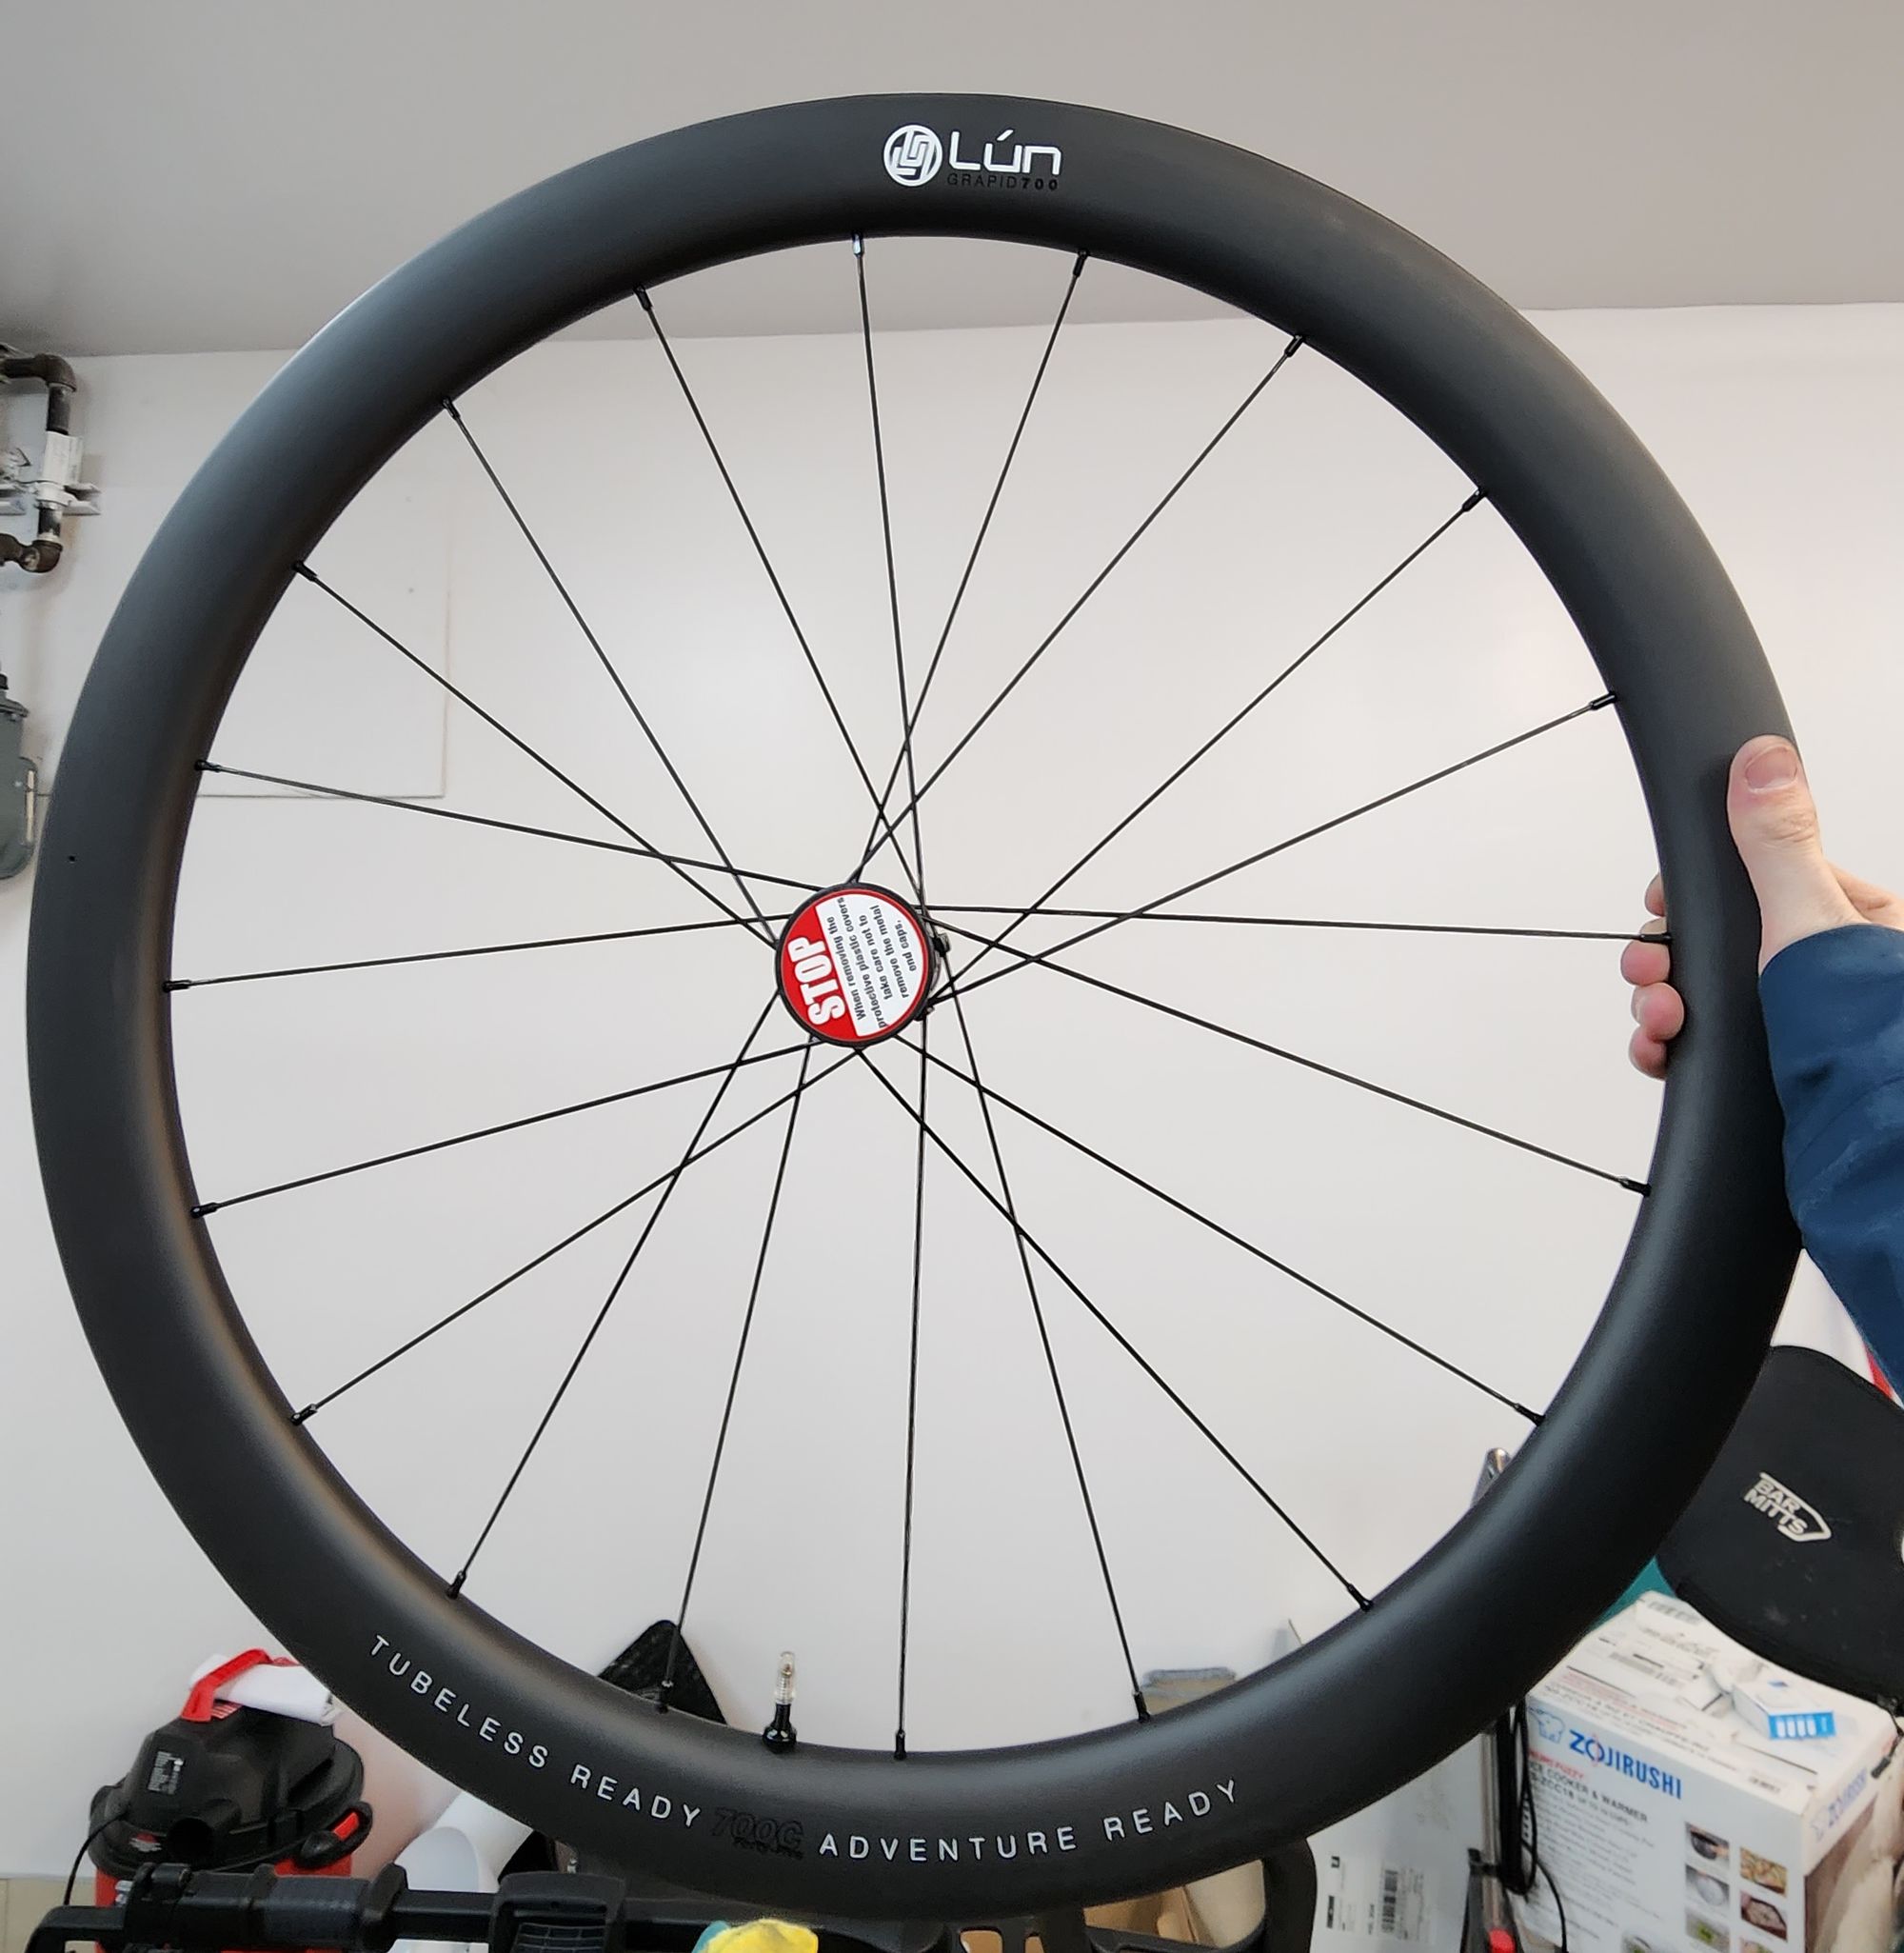
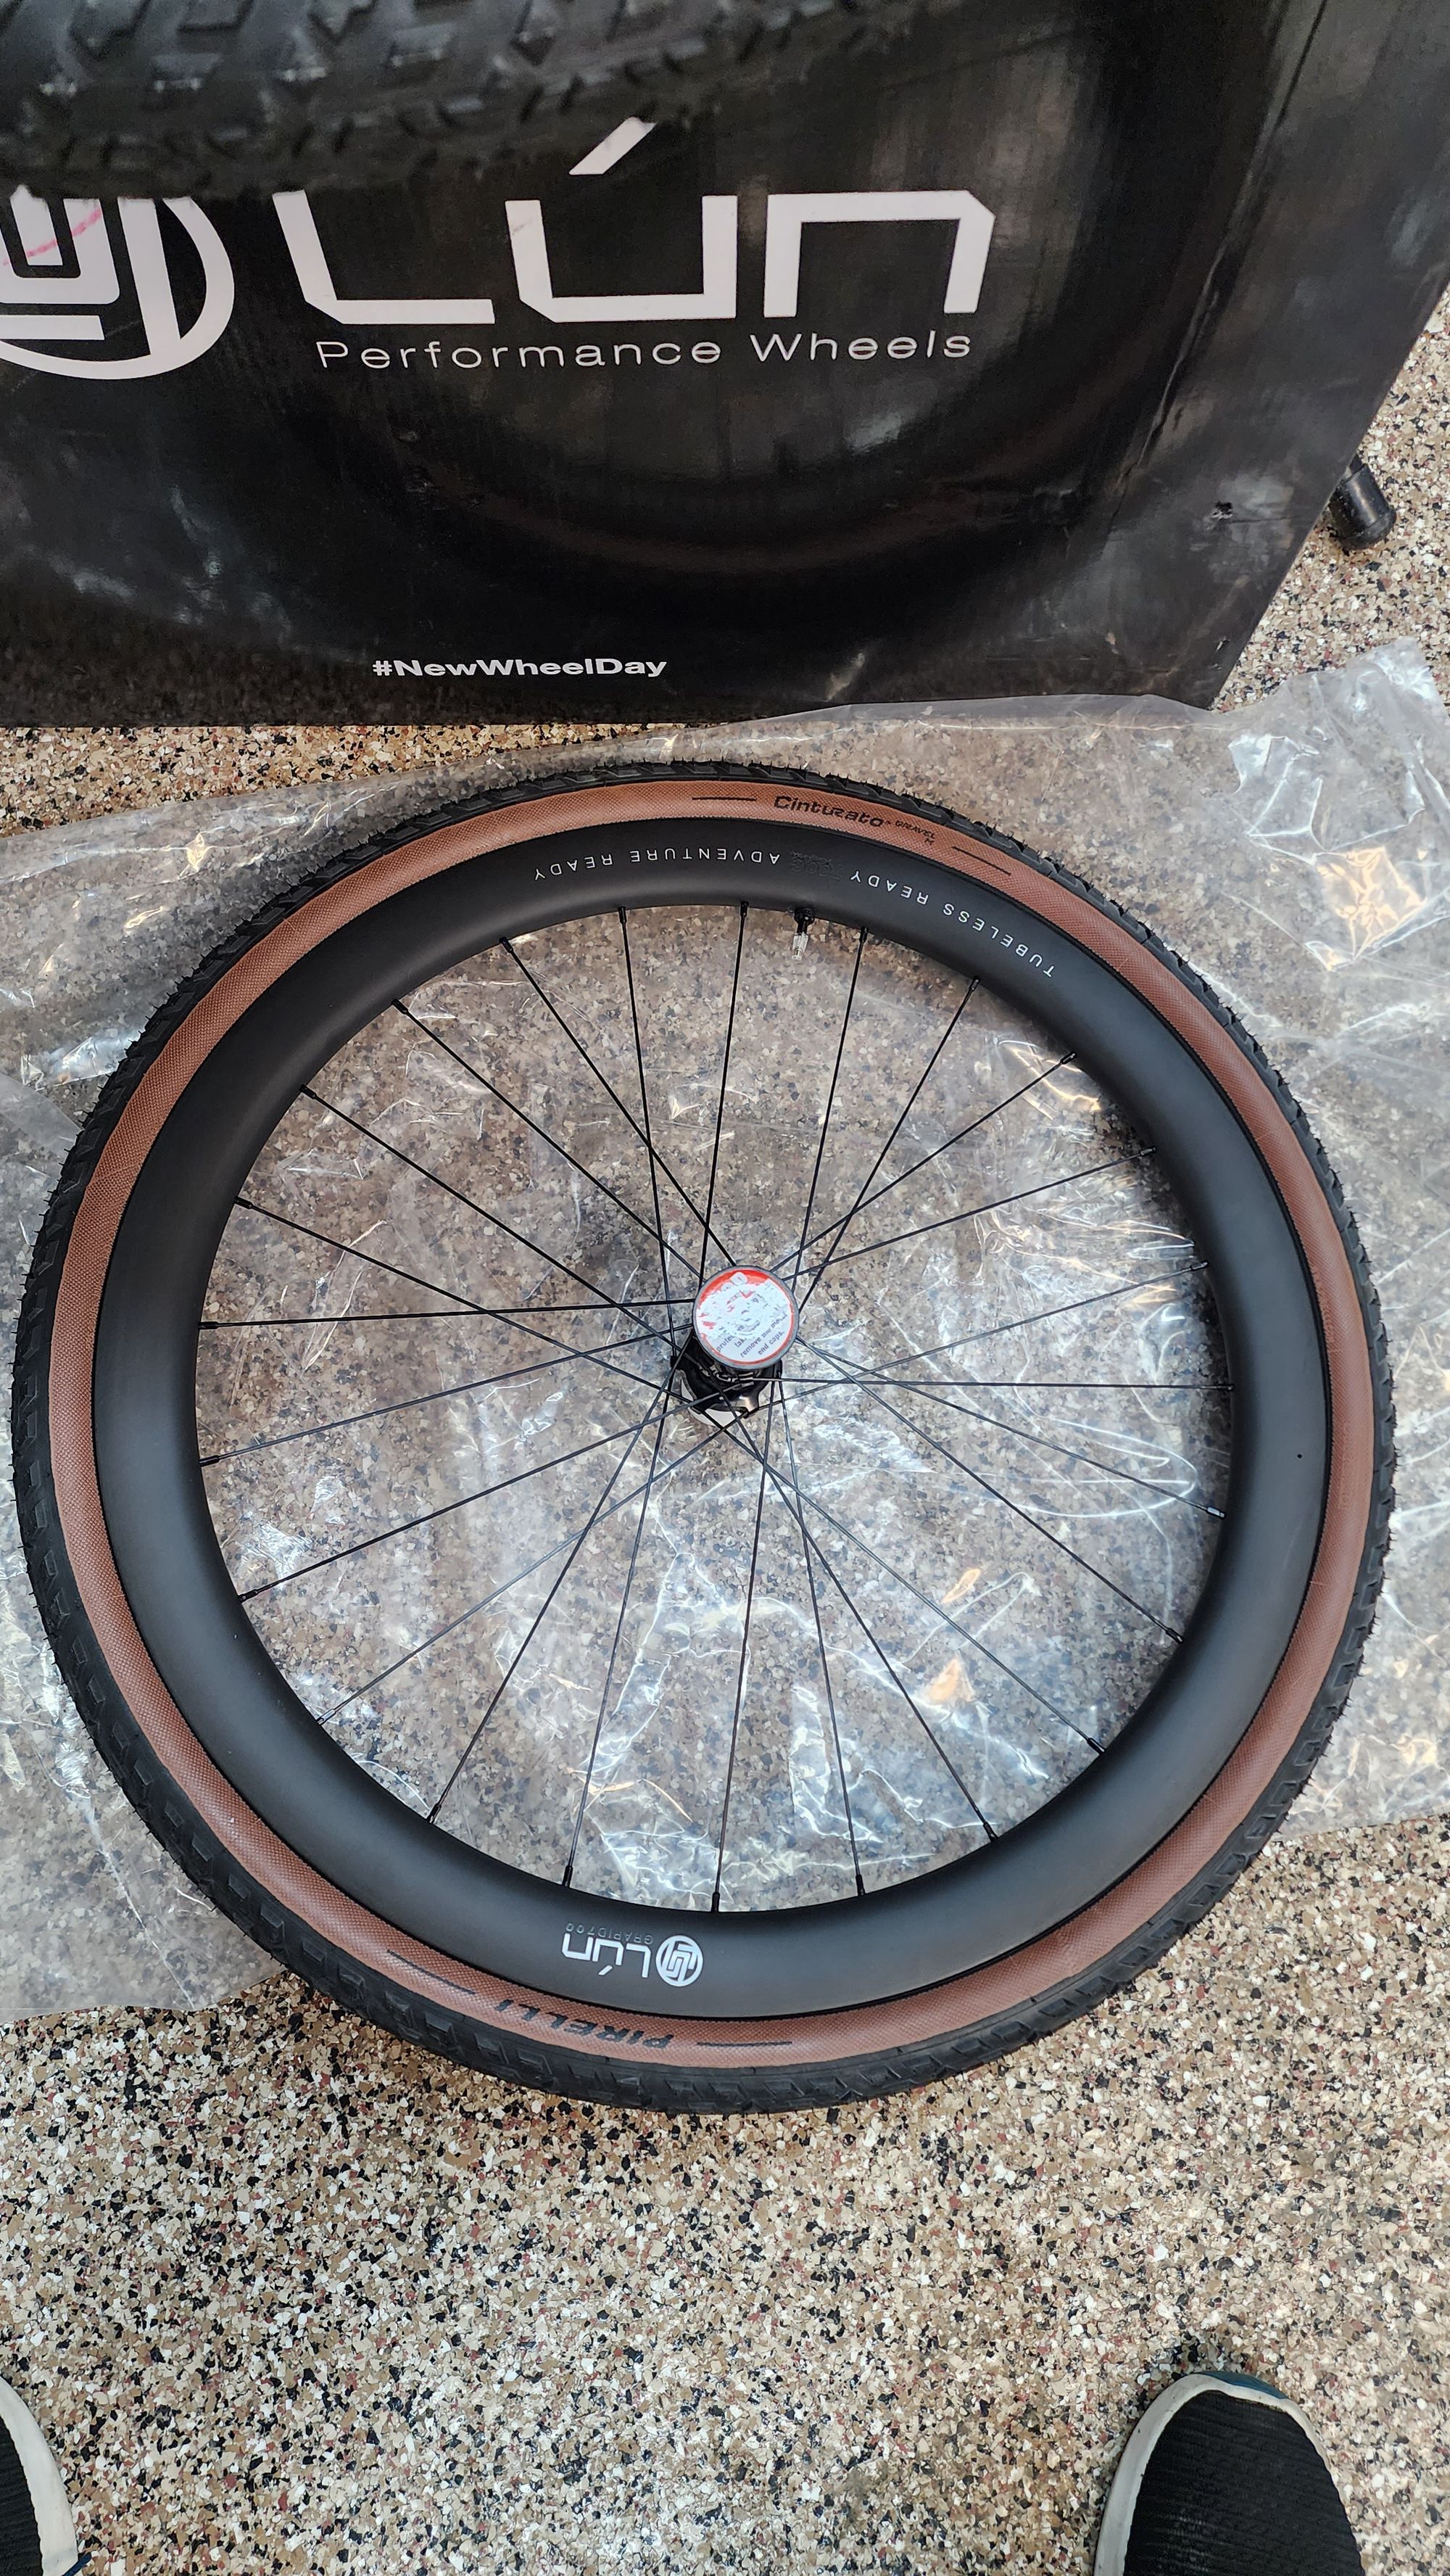
Winspace Lún Grapid 700c Forty-Five gravel wheels
I like the combination of the rim finish with the brown Pirelli Cinturato tires.
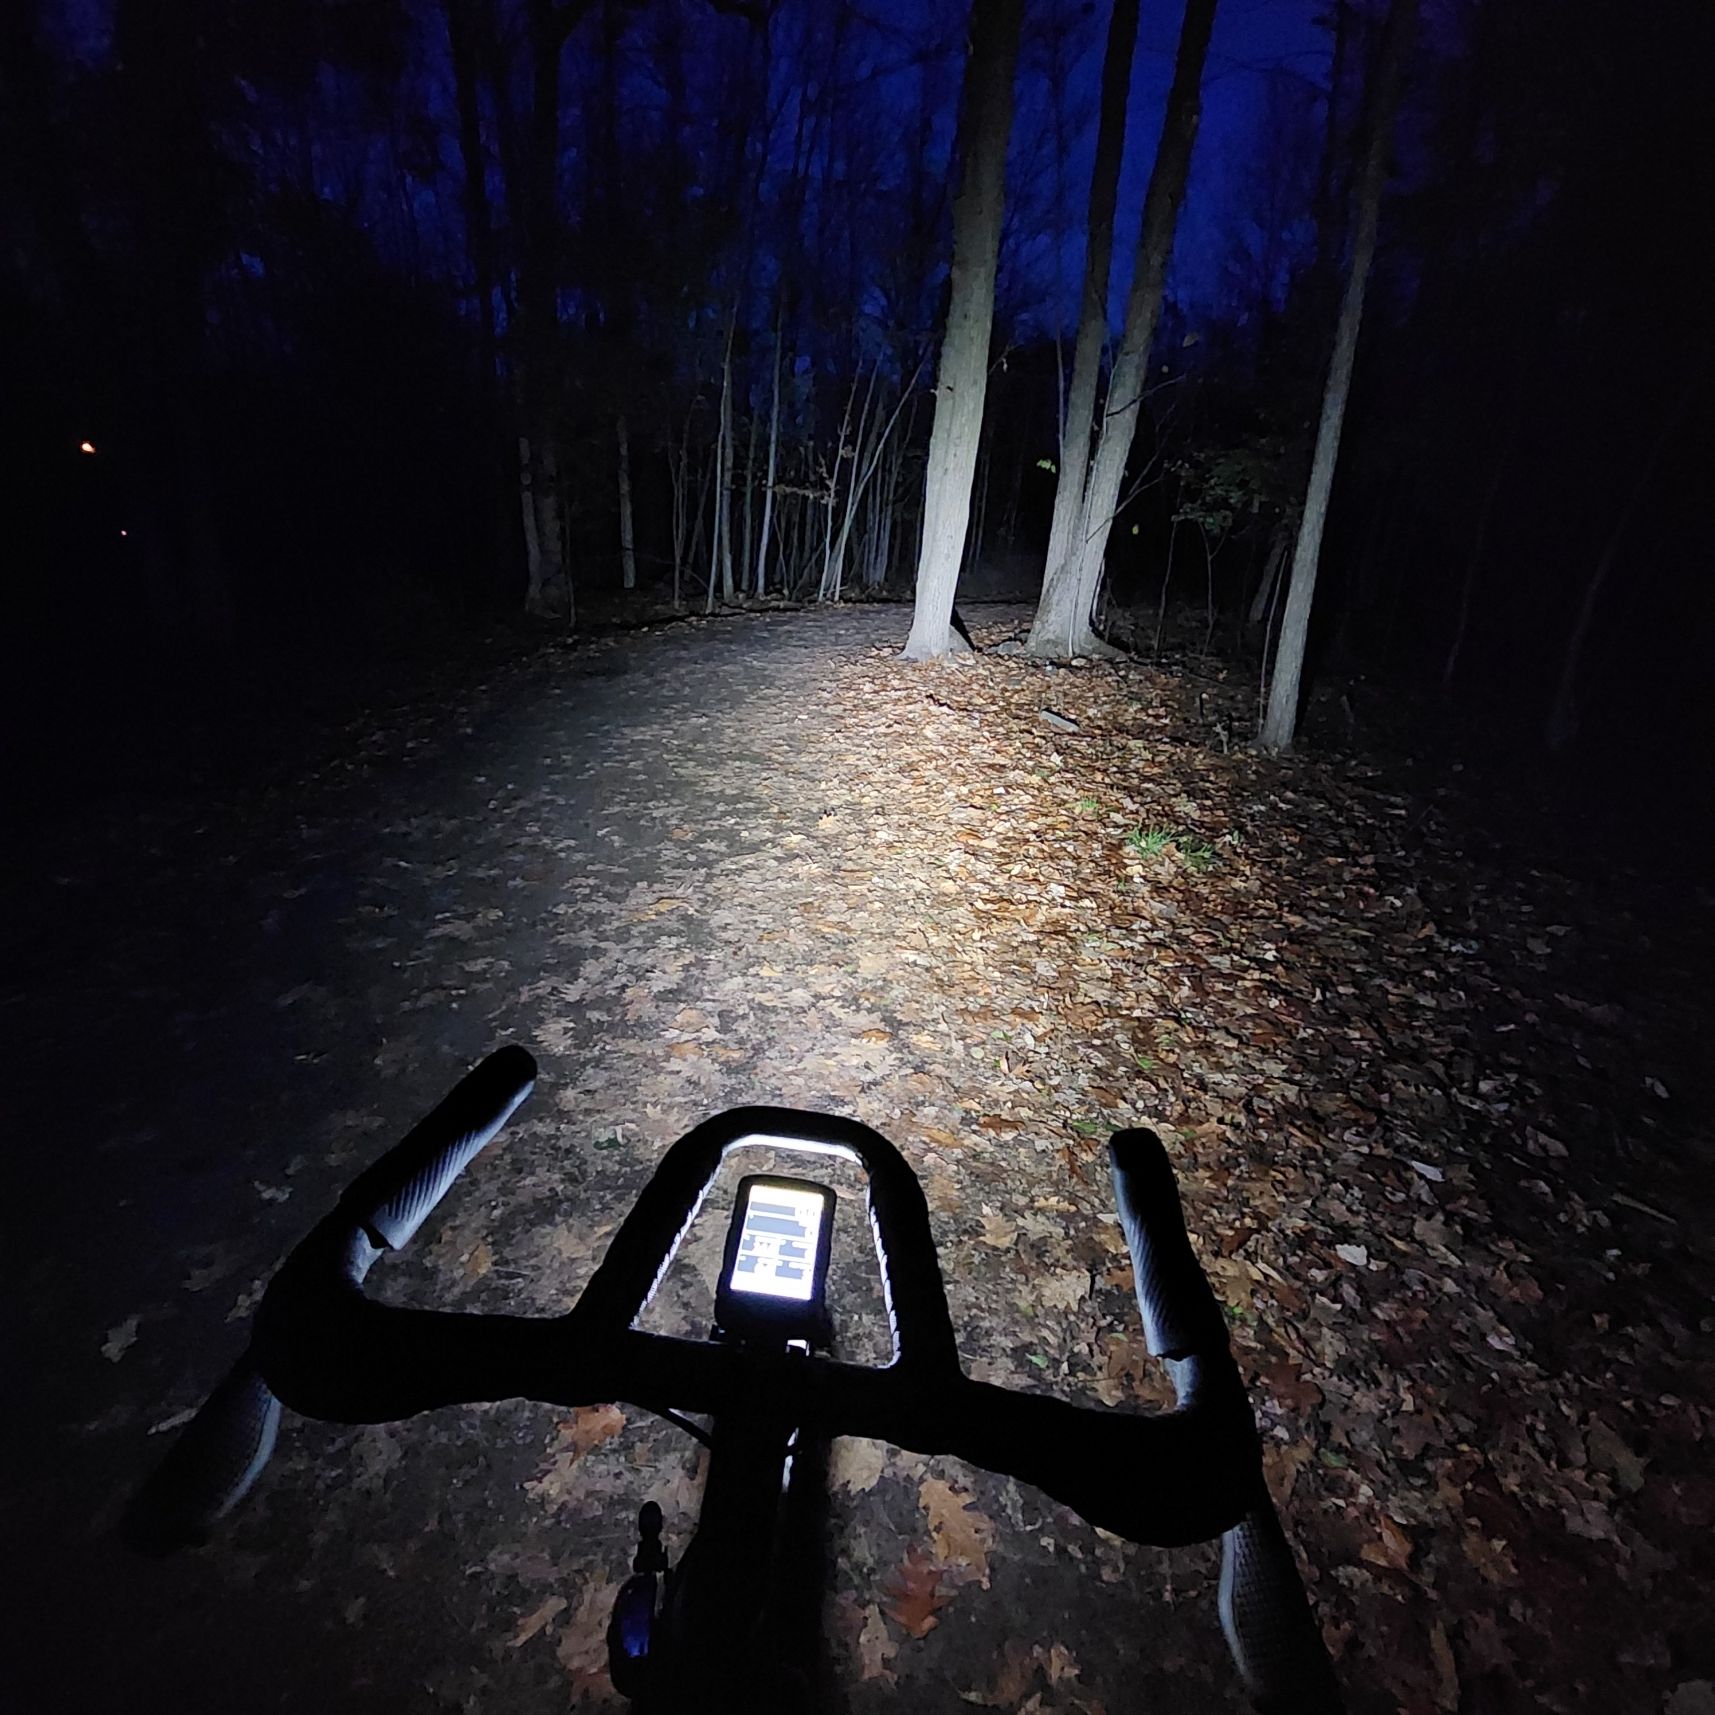
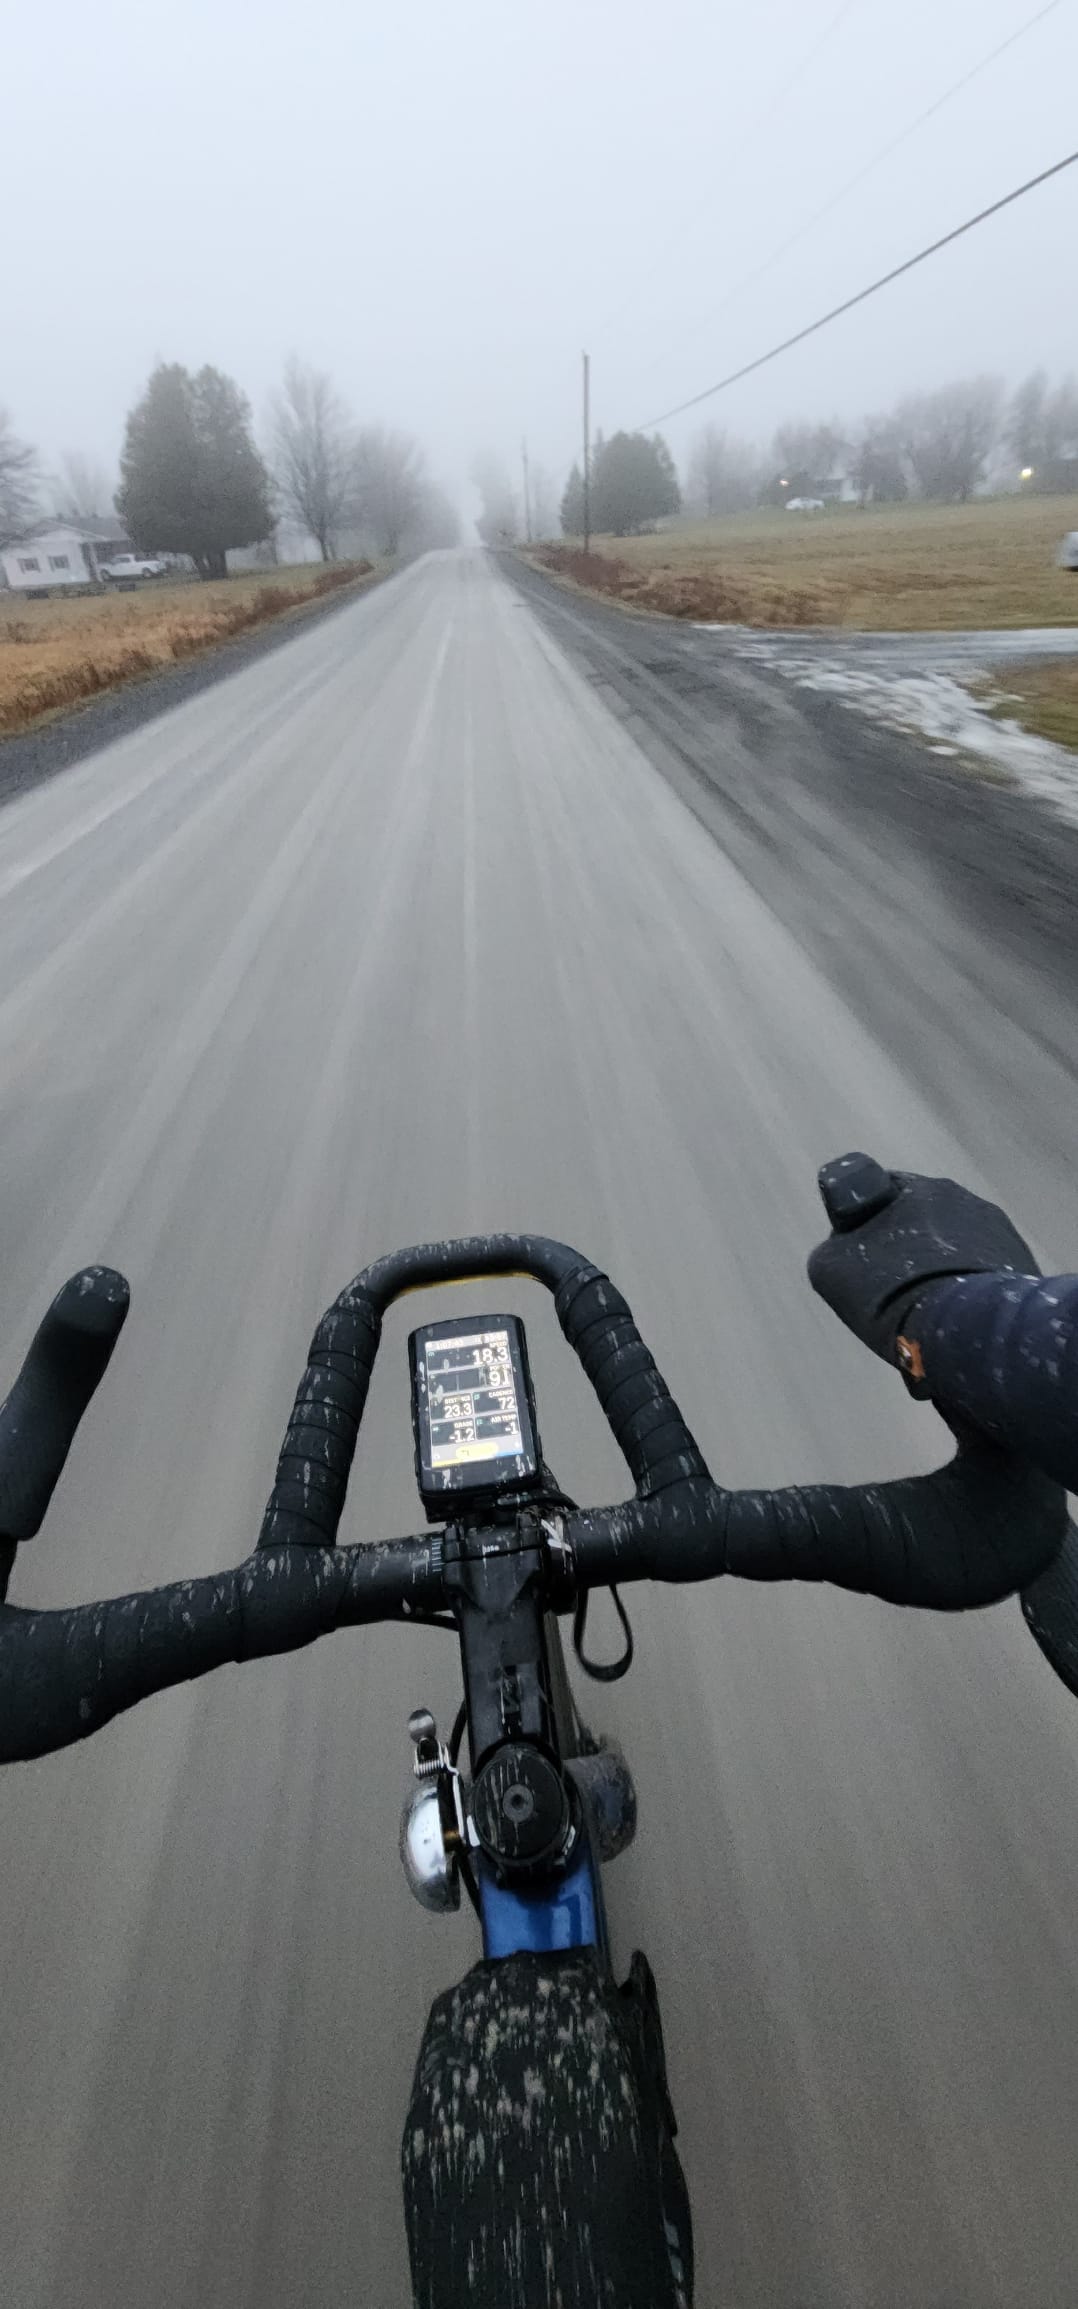
The Cinturato Gravel M tires roll surprisingly well on paved roads. I keep using the bike with the gravel wheelset and tires in winter. They do struggle a bit when conditions get muddy, but this is the compromise I made. Pirelli has a tire in the range with deeper sculptures more suited for muddy conditions. On dry and wet but not too muddy gravel they perform admirably.
To address this, you can get some centerlock rotor spacers to make the alignment even between the wheels. It can be a bit tricky to get the alignment right at first, but once this is done you don't need to worry about it anymore.
They were not available at the time of this build, but Light Bicycle now offers even wider gravel rims. Wider rims, allow for a more aero setup with large tires. Aero is probably secondary in a gravel build. However, a wide rim gives more volume of air allowing for a plushier ride.
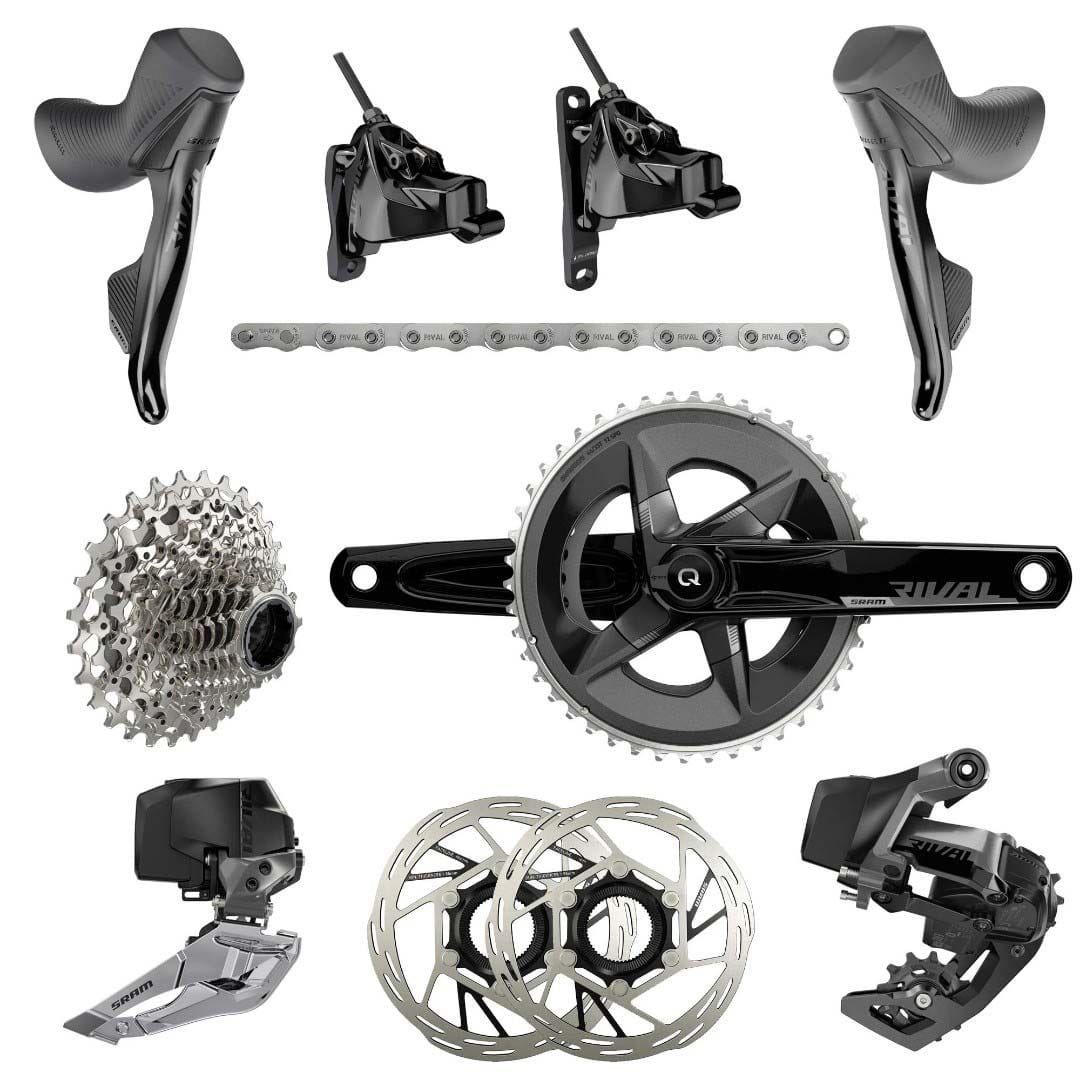
The Groupset: SRAM Rival AXS
For this build, I wanted:
- Hydraulic disc brakes
- Low gears for easier climbing
- High gears to be able to sprint and follow fast groups
- 11 or 12 gears
- Power meter
- Easy and clean setup
The SRAM Rival eTap AXS Groupset seems to tick all the boxes. It even has an option with an integrated power meter! It's also truly wireless between the shifter and derailleur. I also like the 2x drivetrain with a wide (-ish) cassette at the rear.
I was quite surprised that there are not that many places where one can buy a full groupset that has a good selection in stock. In Canada, I ordered from La Bicicletta Toronto, which is one of the very few with the groupset on hand.
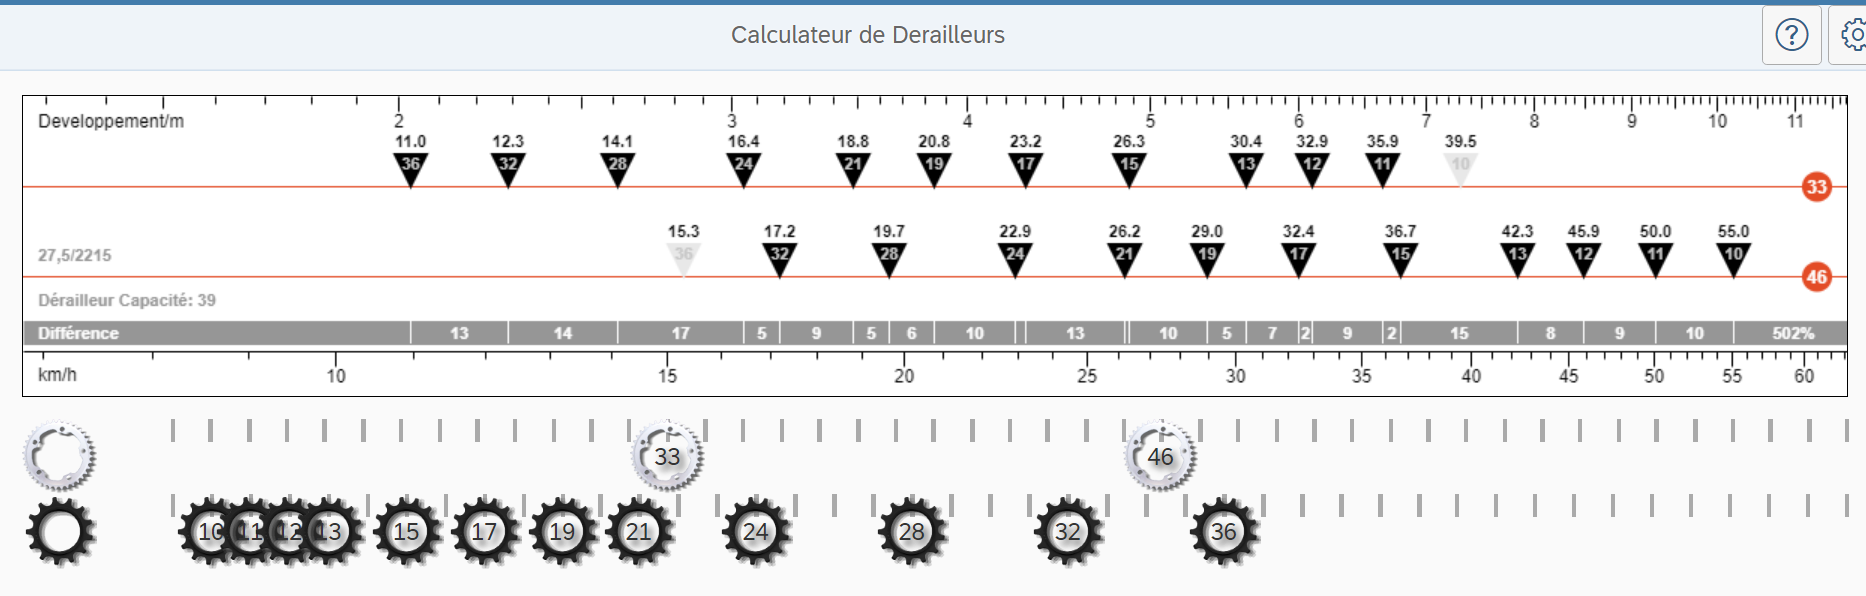
The gear ratios allow a wide range of speeds:
- Lowest gear at 90 RPM: 11km/h
- Highest gear at 90 RPM: 55km/h
Power brings you up the hill faster, but still, I should be able to spin my way out of most climbs.
If you opt for a 2x setup, carefully read the frameset user manual because it has limits on the chainring size: "The frame is compatible with one-by and two-by drivetrains. The maximum chainring size for a 1x setup is 42T (round), while that for a 2X system is 36/48T."
With my 33/46T chainring, I am not at the limit but close to it. When the chain drops it can get stuck between the frame and the big chainring. It is a pain to remove and chip the paint (see pictures below). If chain drops happen, I highly recommend fine-tuning the derailleur to make sure it does not happen again.
Chain drops can be very annoying with this frameset/chainring combo.
The Redshift System: Handlebar and suspensions
Suspension
I value a comfortable ride and tried the Redshift suspension stem and seatpost (the non-pro version) on my commuter bike and was very pleased with the results. Especially riding the streets of Montréal which are not known for their smoothness.

With that being a success, the Redshift system will be part of my next build. Compliance does make you faster on rough roads after all.
I opted for the Pro versions of the suspension stem and seatpost. The differences with the non-pro versions are:
- Suspension Stem: it's just lighter, the rest is the same
- Suspension post: lighter, pro version doesn't "float" (or "bob") and has slightly less travel (elastomers vs spring). Note that there is now a V2 of that product with coil springs.
I am pleased with the setup. However, one thing I don't like about the suspension seat post is that given how my bike is fitted, there is not much room for my repair stand to clamp on the post.
Handlebar
I could have otherwise chosen a carbon gravel handlebar. However, given the success I had with previous Redshift products, I gave their handlebar a try. I prefer comfort over weight minimization.
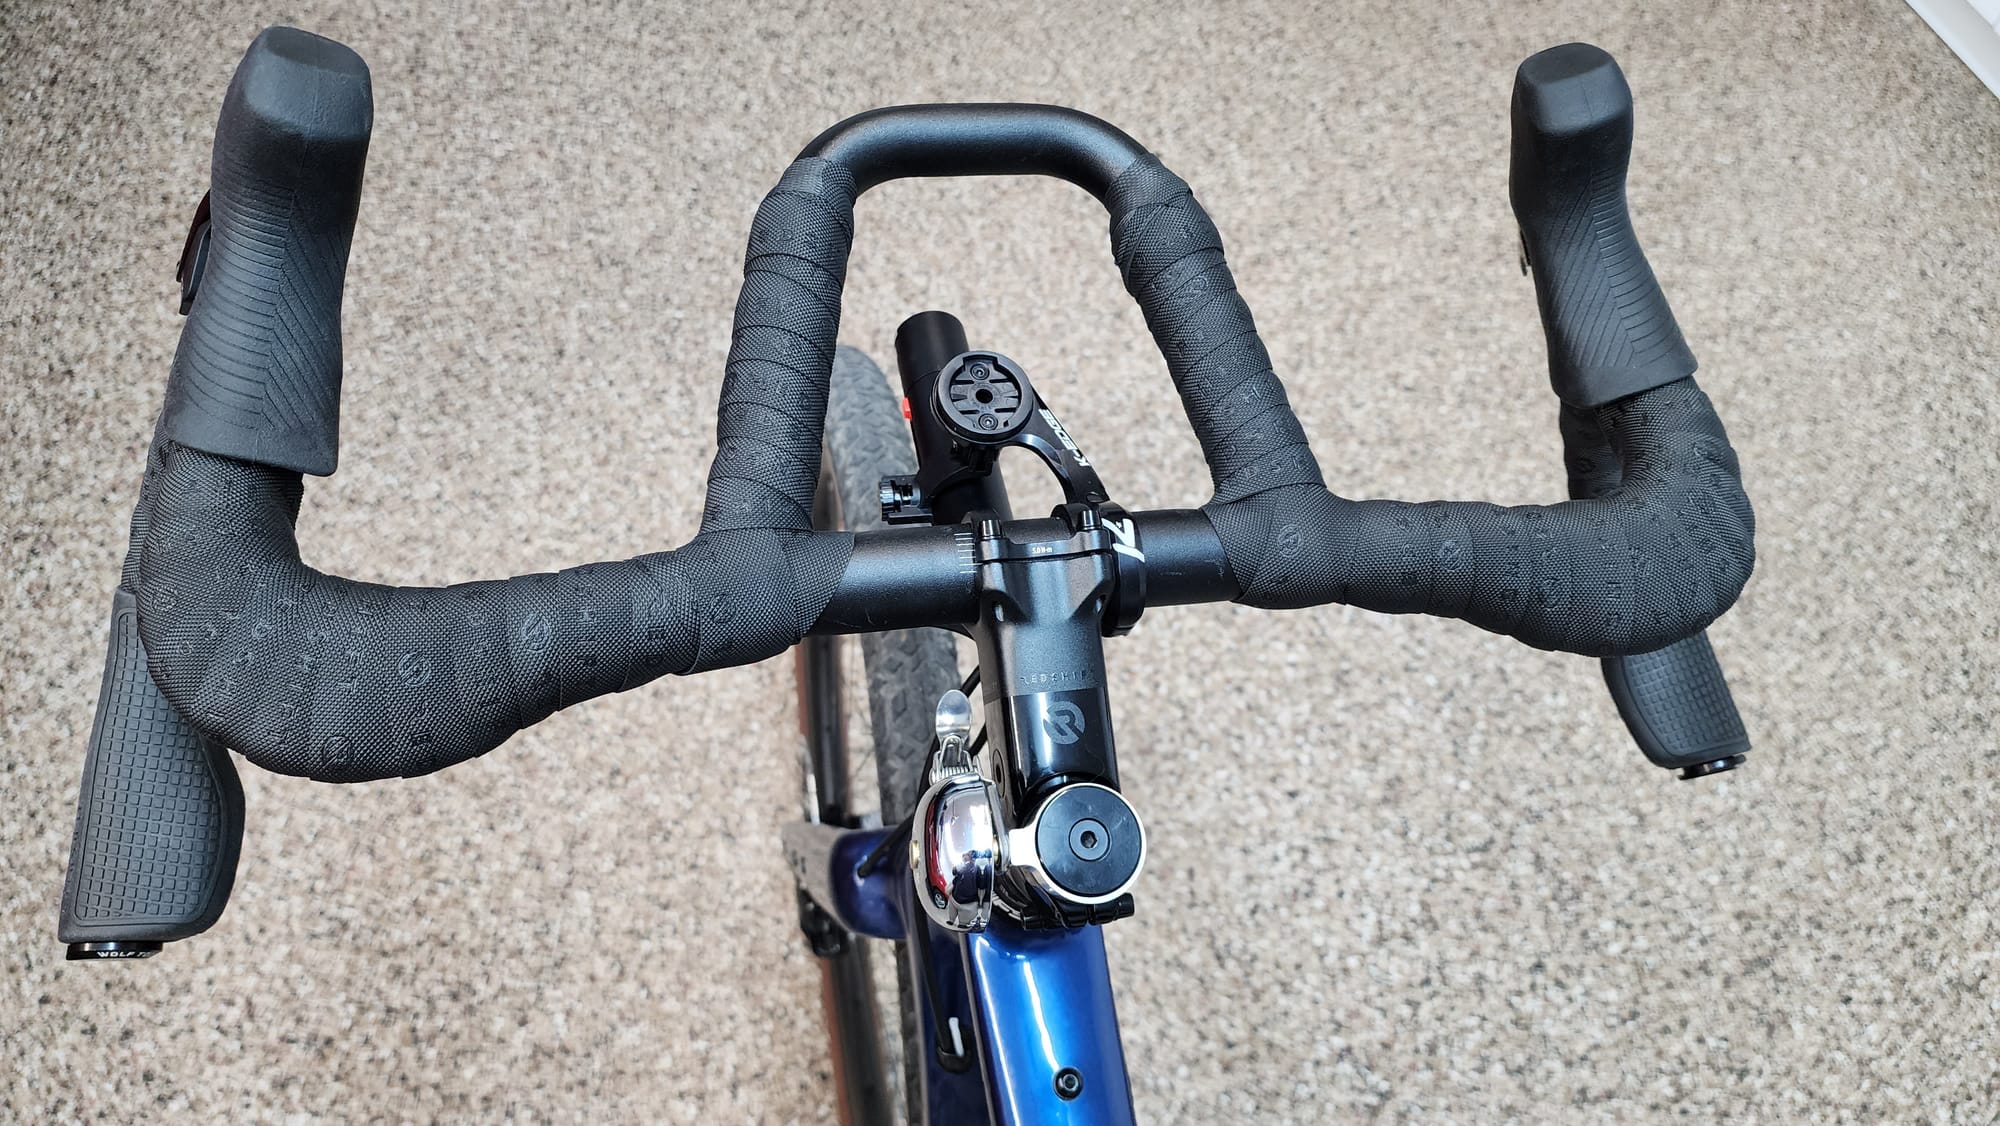
The things I like about this setup are:
- The additional padding for the palms.
- Grips make for a very pleasing and comfortable cruising position on the drops.
- The loop and extra padding make it perfect for practicing the latest UCI-banned aero positions (UCI has no jurisdiction in this build!)
It is not all perfect, however:
- The loop makes placing gadgets and bags tricky
- I don't use the sides of the loop
